Installing a snorkel on a Ford Bronco is a modification that allows your vehicle to breathe clean, filtered air even when you're off-roading in dusty or watery conditions. It raises the air intake point to a higher position, reducing the risk of water or debris getting into the engine's air intake system. Here's a general guide on how to install a snorkel on a Ford Bronco:
Tools and Materials Needed:
- Snorkel Kit: Purchase a snorkel kit that is specifically designed for your Ford Bronco model. These kits often include all the necessary components and hardware.
- Basic Hand Tools: Screwdrivers, pliers, wrenches, etc.
- Drill and Drill Bits: For creating holes in the body panels.
- Sealant: Waterproof sealant or silicone.
- Masking Tape: For marking hole locations.
- Safety Equipment: Safety glasses and gloves.
- Instructions: Follow the instructions provided with your snorkel kit.
Installation Steps:
- Read the Instructions: Start by carefully reading the installation instructions provided with your snorkel kit. Different kits may have specific requirements or variations in the installation process.
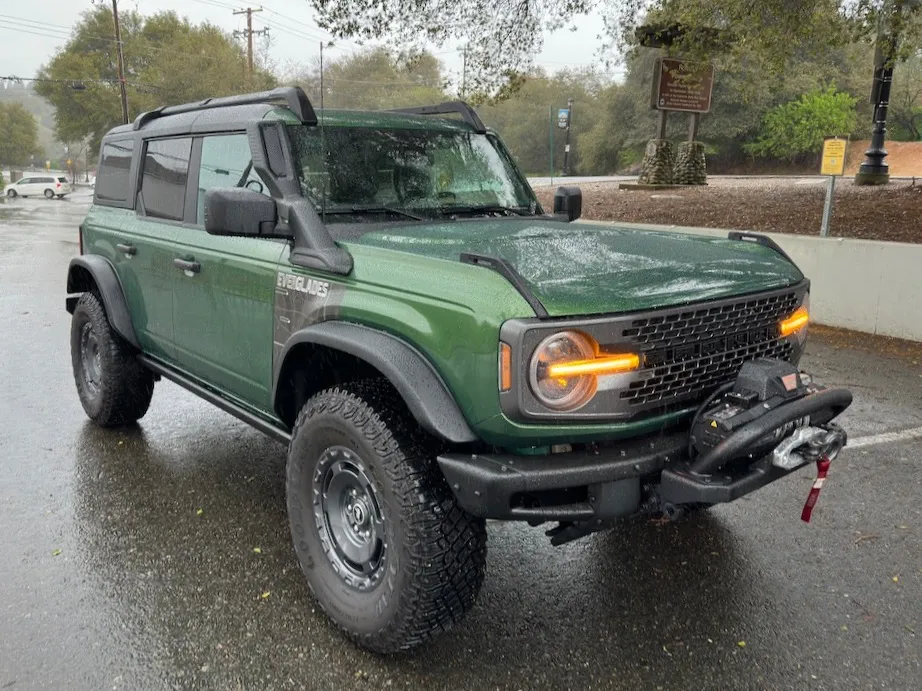
- Choose the Snorkel Location: Determine the best location for your snorkel on your Ford Bronco. It typically goes on the passenger side fender or A-pillar. Mark the location with masking tape.
- Remove Fender and Interior Trim Panels (if required): Depending on the kit and your Bronco's model year, you may need to remove the fender and some interior trim panels to access the installation area. Follow the kit's instructions for this step.
- Drill Holes: Drill the necessary holes in the marked location according to the kit's specifications. Be precise in your measurements and use the appropriate drill bits.
- Mount the Snorkel Body: Assemble the snorkel body components according to the kit's instructions. Attach the snorkel body to the drilled holes using the provided hardware, brackets, and seals. Make sure it's securely fastened.
- Connect the Snorkel to the Airbox: Extend the snorkel tube from the body to the airbox. Ensure that it's properly aligned and connected using the provided couplers and clamps. Tighten all connections securely.
- Seal the Edges: Apply waterproof sealant or silicone around the edges of the snorkel body where it contacts the vehicle's body. This helps to prevent water from entering the engine bay.
- Reassemble Interior Trim and Fender: If you had to remove interior trim panels or the fender, reassemble them according to your Bronco's model year and the snorkel kit's instructions.
- Test the Snorkel: Before heading out on any extreme off-roading adventures, start your Bronco and ensure that there are no leaks or unusual noises associated with the snorkel installation. Also, make sure the air intake is clean and unobstructed.
- Adjust the Snorkel: Depending on the kit, you may have some adjustability in the snorkel's height or angle. Fine-tune the position to your liking.
- Off-Road Testing: Once the installation is complete, take your Ford Bronco off-road and test the snorkel's functionality in various conditions. Ensure it provides clean, filtered air to the engine, and that it effectively keeps out water and debris.
- Remember that installing a snorkel is a relatively advanced modification, and if you're not confident in your skills, it's a good idea to seek professional assistance to ensure a proper installation. Additionally, check local regulations regarding snorkel installations, as they may vary by region.
Story’s Author
979 days on site
Vehicles:
5
Stories:
9
Miles:
505 223
Experience:
25 years