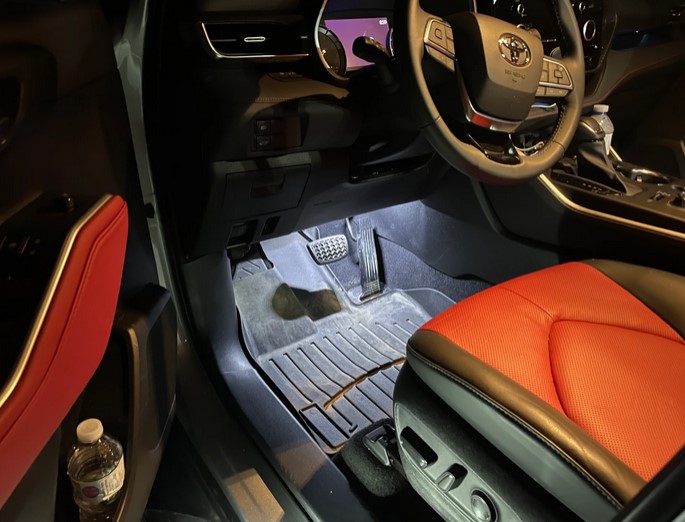
Just finished up an easy DIY job installing LED lighting in the footwells.
These are activated with the door opening, installed using existing wiring behind the driver and passenger side kick panels. There's a connector with wiring roughed in from the factory for the optional illuminated door sills. I tapped these wires to power the LEDs.
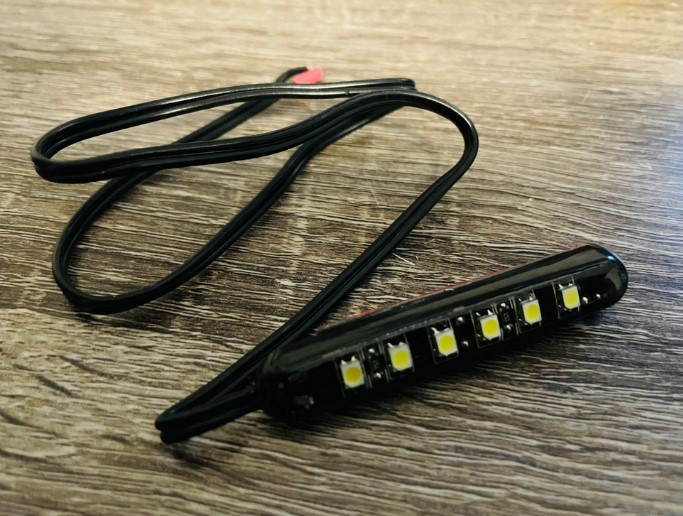
On each side I'm using one OZNIUM mini LED light bar with 25 lumens output , these were leftover from a motorcycle project I did years ago. They cast 120 degree beam and are not obnoxiously bright like many options out there. For footwell lights I think subtle is better.
To make the job easier you have to take one cover off on each side. There's a very flimsy undercover on the driver's side. 3 screws across the front, push a couple tabs and it's free. The OBD port is attached to this cover so be careful. On the passenger side there's a less flimsy undercover, secured only by 4 tabs, just push them to release and pull straight out. I took the glove compartment off to have a better view, no tools required. Unclip the plastic arm and squeeze the sides of the glover box together where the "stops " are, squeeze until it clears. Inspect your cabin air filter while you're in there.
For a cleaner wire run on the passenger side cover, I drilled 2 holes into the panel, since there's very little free space under there. An entry hole next to the led bar location and and exit hole at the rear. You can tuck the wiring under the insulation and then out the exit hole. No chance for dangling/loose wires doing it this way.
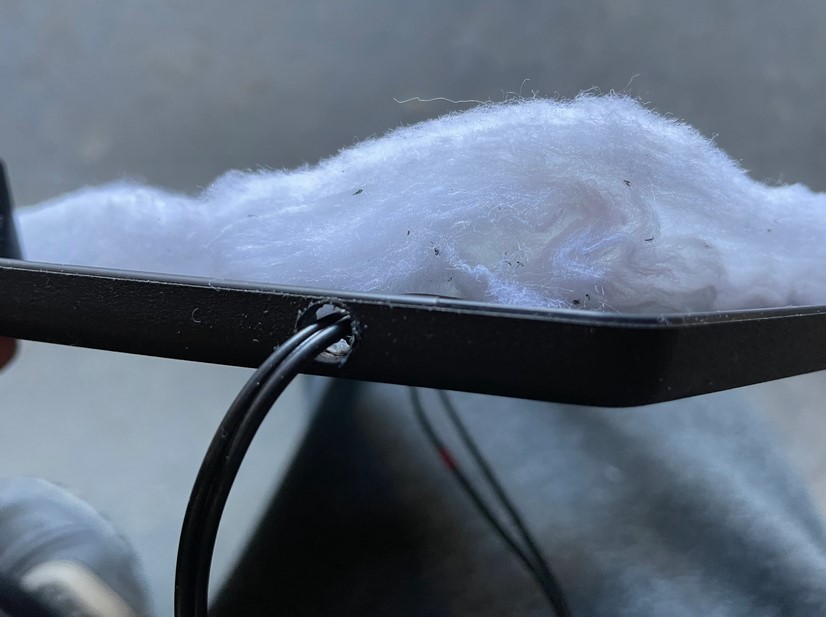
On the driver side undercover, there's lots of free space and several existing harnesses you can secure the LED wires to. I drilled one hole for the led bar wiring to pass through then used zip ties to secure. Make sure not interfere with the pedals, steering column shaft or run any wire in front of the driver air bag module.
Now with the driver kick panel off , locate the plug you'll need to splice.
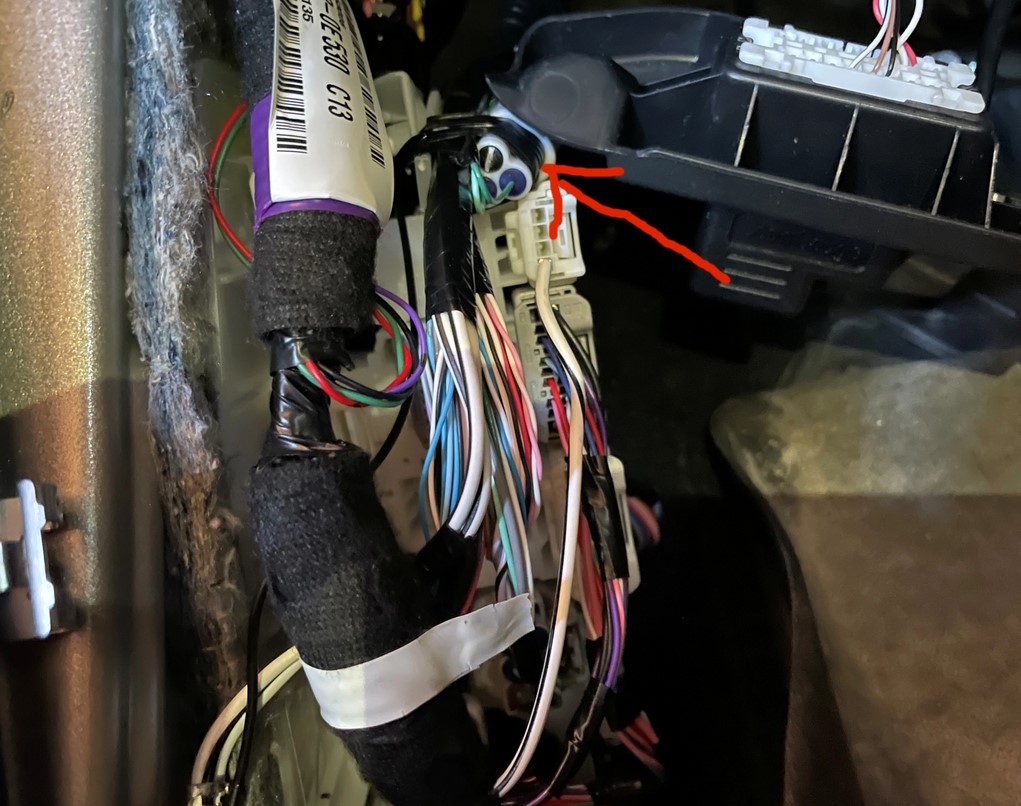
Locate the green wires going to this plug, they're probably taped up good like mine were. You'll need to cut/peel off some of this tape. It has a dark green wire and a light green wire. The positive lead from your lights will go to the dark green. The negative lead from your lights will go to the light green.
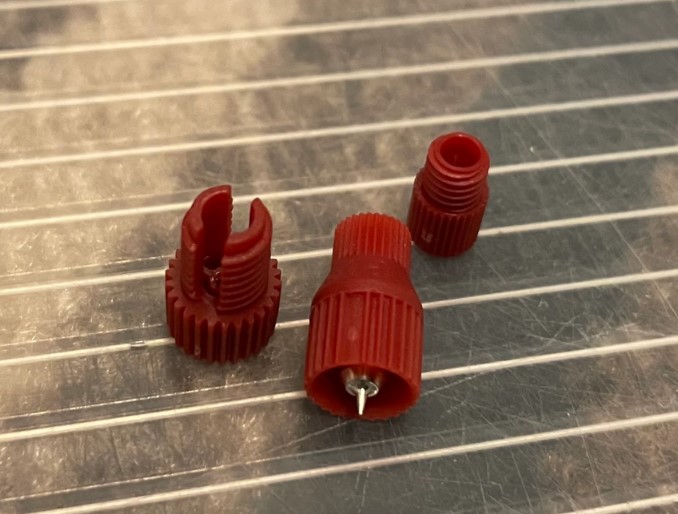
I used POSI-Tap connectors to splice these wires. It's very quick and efficient. I've used just about every type of tap/splice connector out there. These are my favourite.
Should look like this with the POSI-Taps in place.
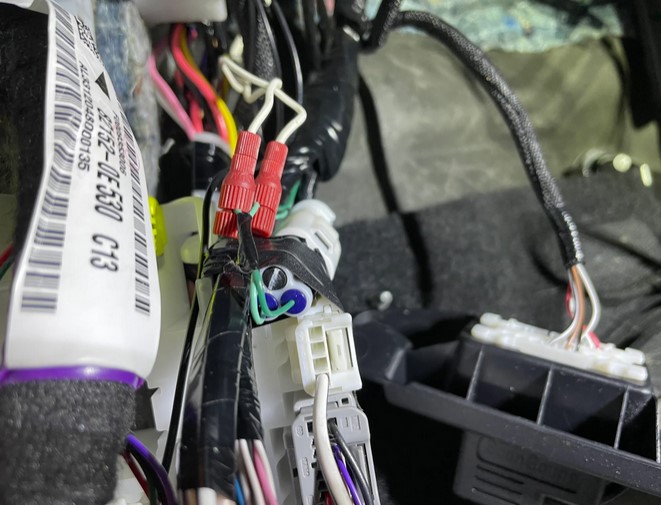
Do the same for the passenger side. Button everything back up and you're all set