DIY Install OEM Style Dash Switch
Here' an easy tutorial on installing OEM Style 22mm X 22mm dash switches to power any electrical add-ons.
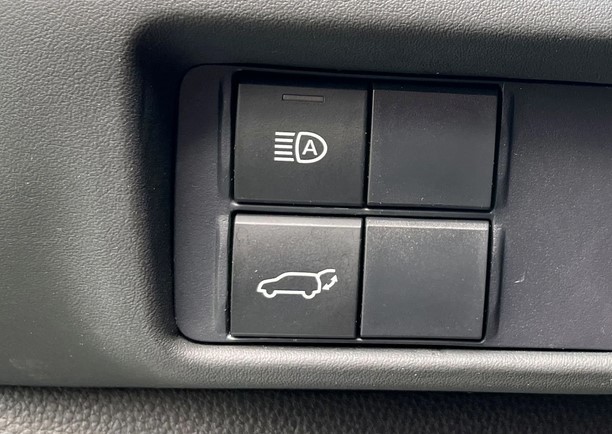
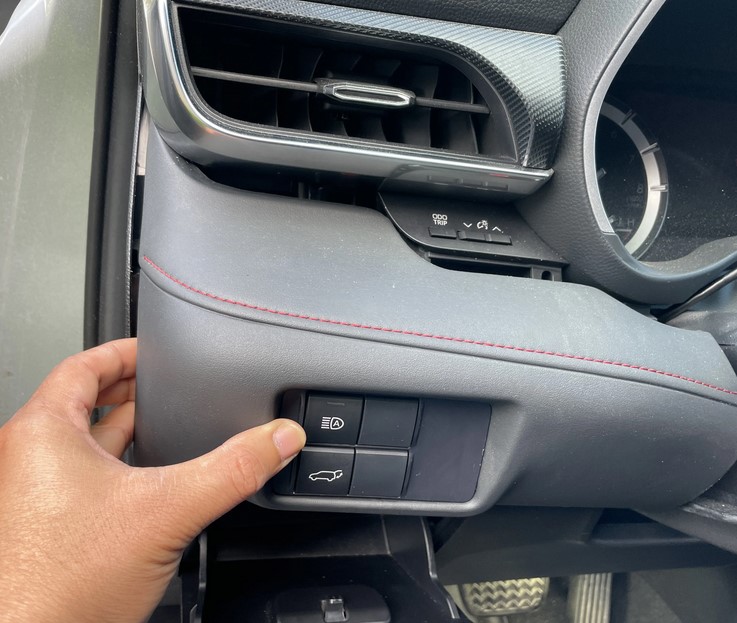
My '21 XSE came with 2 switch banks as it only comes stock with the Auto High-Beam and Hatch Release switches.
This will vary depending on your trim.
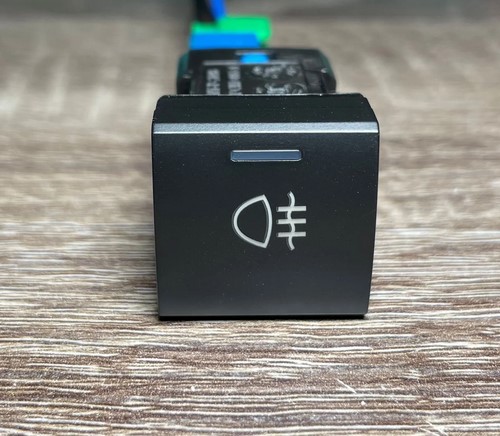
These are latching type so they lock down when pressed and unlatch when pressed again to turn off. They make an audible click when pressed.
They're also the closest to OEM switches that I could find, the illuminated icon is the same colour and the "ON" indicator light is greenish yellow just like the stock Auto High-Beam switch.
Other dash switches I came across illuminate blue.
I'm using their REAR FOG LIGHT switch, as I scored a used set of Genuine OEM 2020+ Highlander REAR FOG LIGHTS off a wrecked Crown Kluger in China. The OEM light stalk and harness weren't available so this dash switch was the next best option.
There's 5 wires and below is the wiring schematic, as they don't come with any instructions.
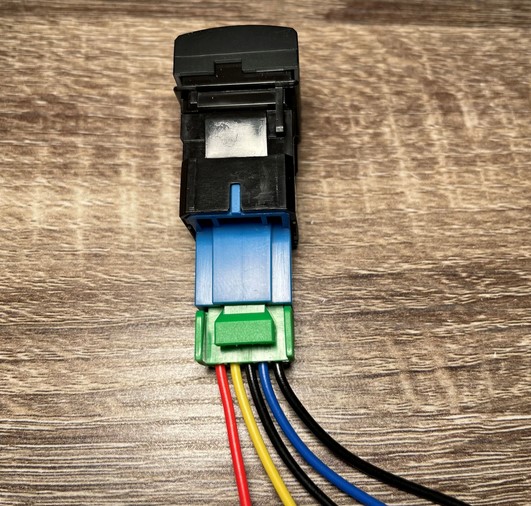
Wires from left to right:
Red - positive lead for the night illumination icon
Yellow - power in from the fuse box
Black1 - to chassis ground for the "ON" indicator light
Blue - power out to your device positive lead
Black2 - negative lead for the night illumination icon
To remove the dash trim holding the switches, grab the ends of the dash piece with your hands and pull it straight out. No tool needed.
you'll need to tap 2 wires from it to get the new switch to illuminate at night.
Using a precision flathead driver push the tabs on each side of the switch blank to release it. It's a tight fit in between the switches so use a very thin driver. The switch blank comes out through the front.
Remove the coin tray to make things easier to run wires behind the dash.
Just squeeze the top sides of the tray inwards until the tabs clear , swing the tray down all the way and unclip the bottom. No tool needed.
Right behind the dash opening is a very convenient factory common ground point. There's a metal bracket with a 10mm nut and a large white connector with a hundred ground wires in it.
Solder an open spade terminal to Black1, loosen the 10mm nut and jam the spade in there and tighten the nut down.
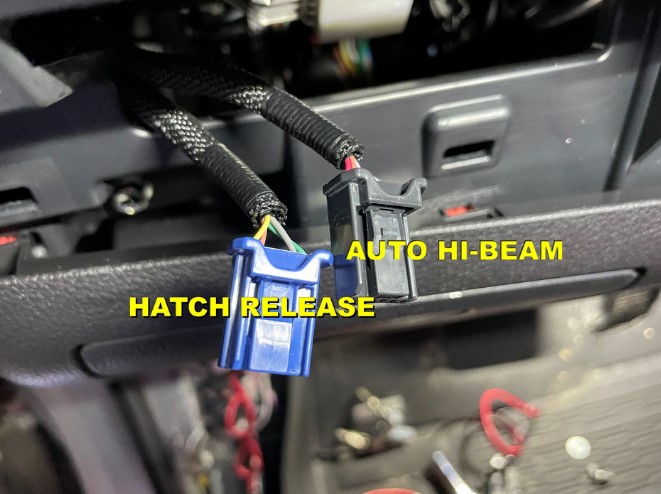
For the illuminated icon wires, Red and Black2 , you will need to tap into the Blue OEM connector for the Hatch Release switch.
Red from the switch to Green
Black2 from the switch to Light Brown
I used POSI-TAP PTA2426 connectors to tap them, they are perfect for this job and you don't need to cut/peel the stock wire loom.
Here's the finished job with night illumination on.
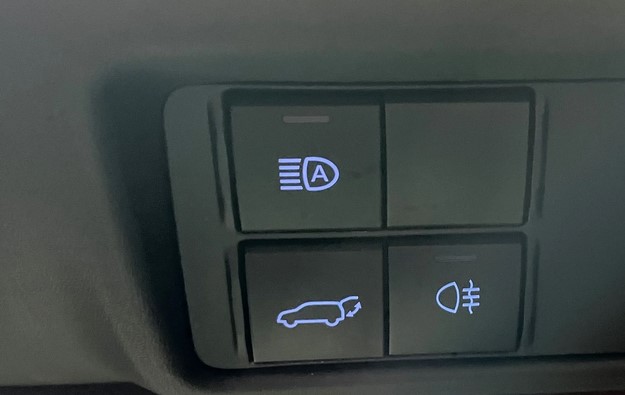
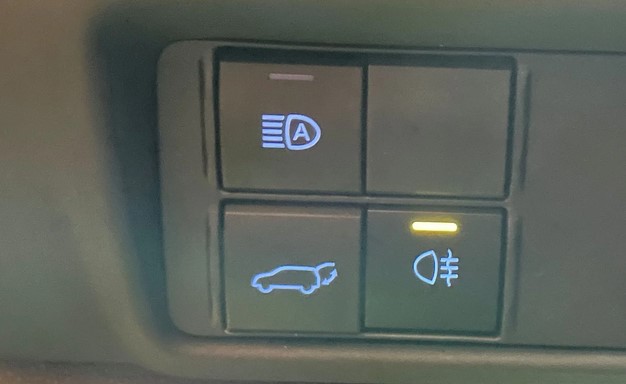
Switched ON
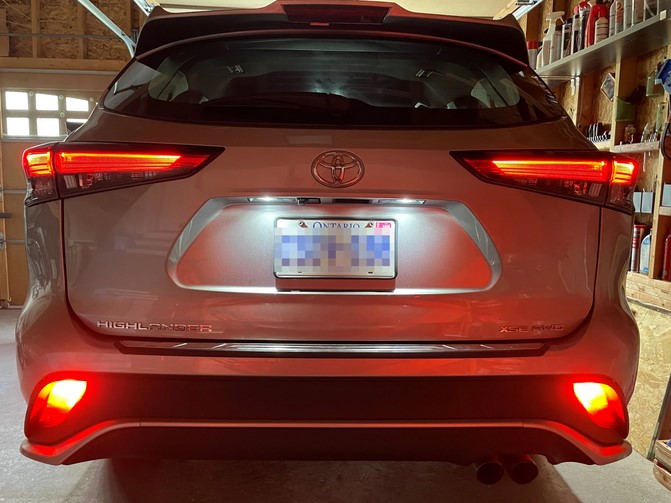
The newly installed OEM REAR FOGS in action, with tail lights on.