Warning: Thread is very picture heaving and do all upgrades at your own risk.
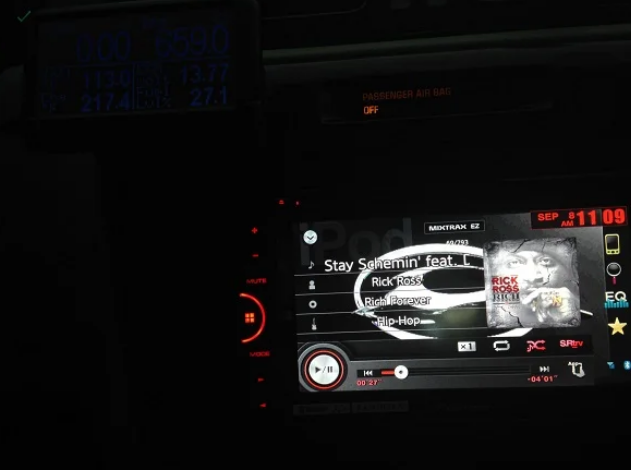
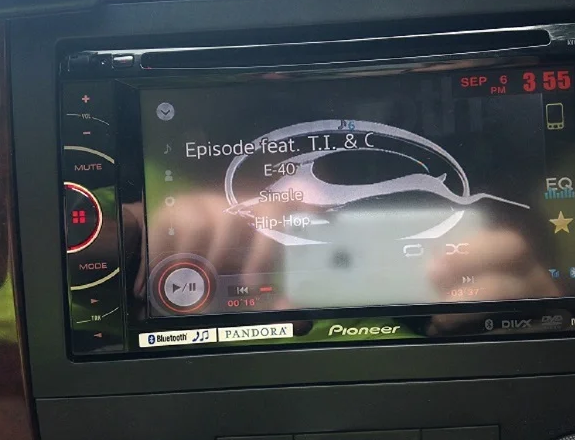
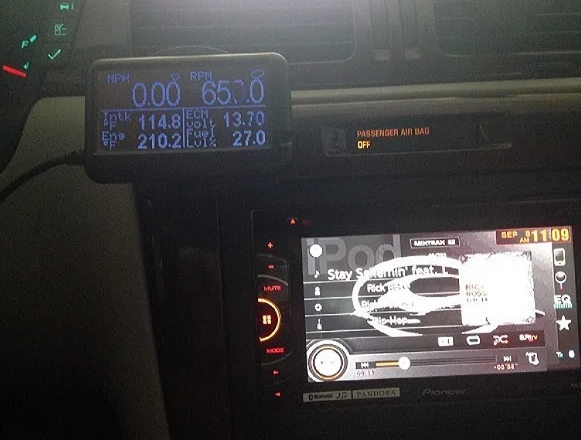
First thing I did was replace the factory stereo with a Pioneer AVHx2600BT with rear view camera.
Things you will need:
Wire strippers
Phillips screw driver
Flat headed screw driver
Butt connectors
Zip Ties
Wiring Harness (Metra Axxess GM LAN Data Bus with Chime Retention)
Mounting Kit (Scosche Dash Kit for 2006 - Up Chevy Impala / Tahoe)
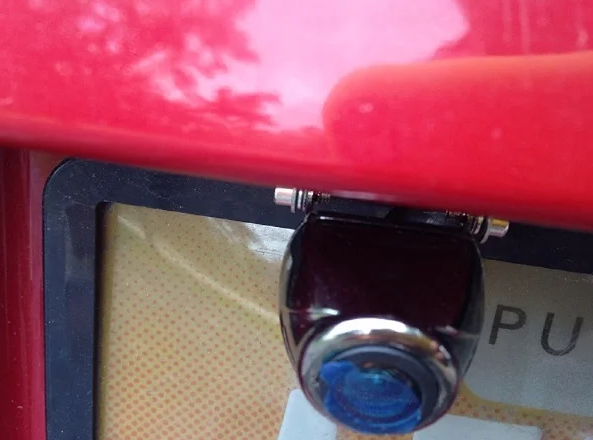
Rear View Camera (Optional HDE E336 Waterproof Rear View Backup Camera)
Radio Adapter (Metra 40-CR10 Chrysler 2002)
MicroBypass Video In Motion Interface For AVHx2600BT
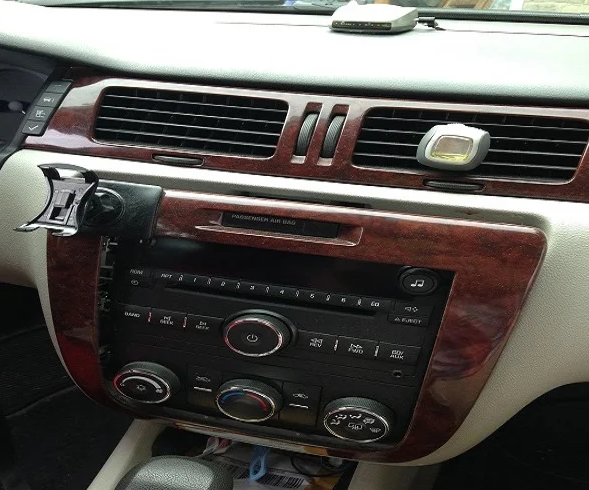
1. First thing I did was to remove the trim around the stereo and disconnect the air bag warning thing.
2. Next remove 6 total screws and that will then let you remove the factory stereo and the climate control.
3. Next pull out the stereo and disconnect it from the car.
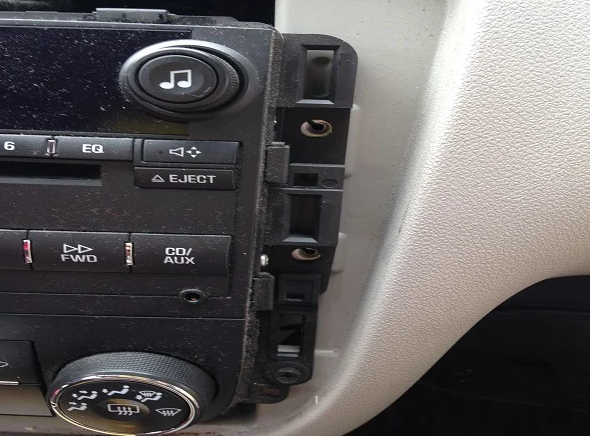
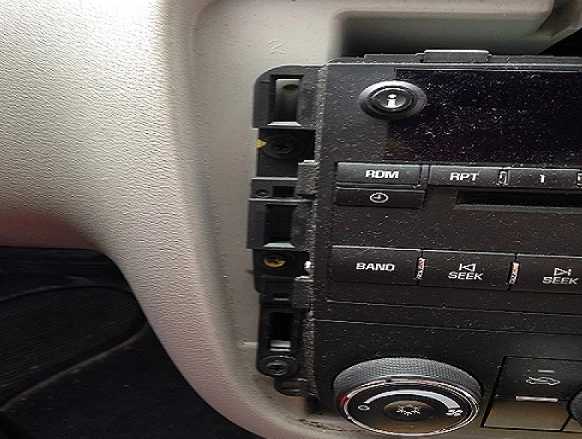
4. Remove the stereo.
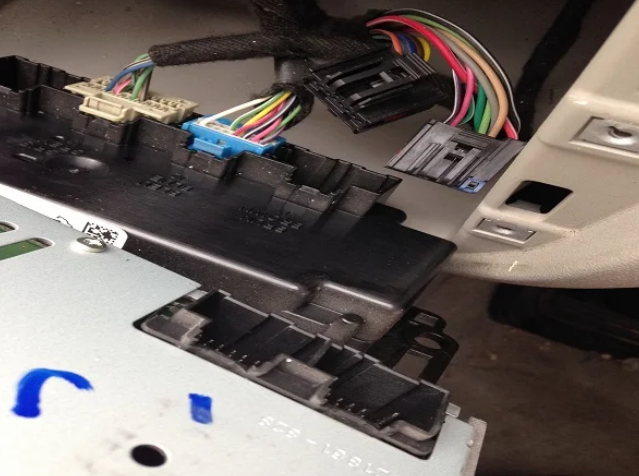
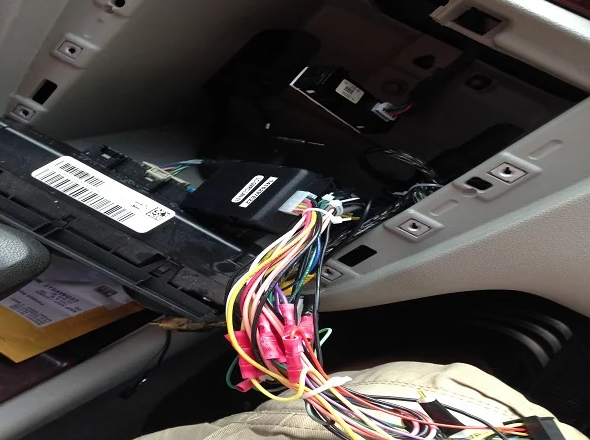
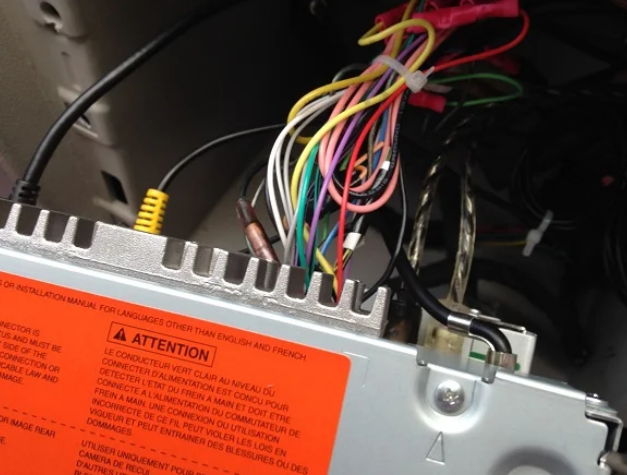
5. Open up the box for the stereo and match the colors for the new stereo adapters with the ones for the Metra Axxess Adapter. Connect with butt connectors. If you have an remote wire connect it with that coming from the amp to turn it on. I also connected my positive wire for the radar scanner to it.
6. Connect the bypass, so you can watch movies when not in park. Connect black wire to the ground of the stereo, blue wire to the remote wire, then green to the parking brake wire from the stereo.
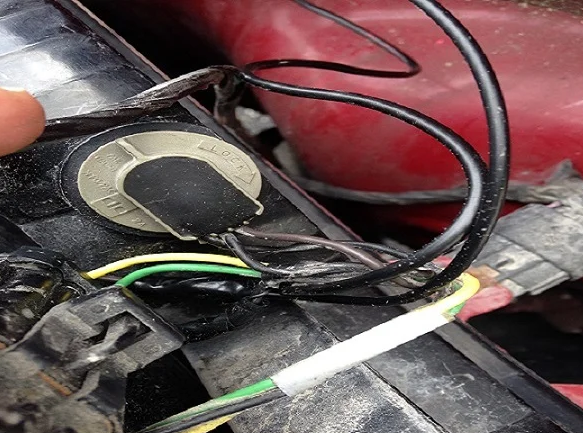
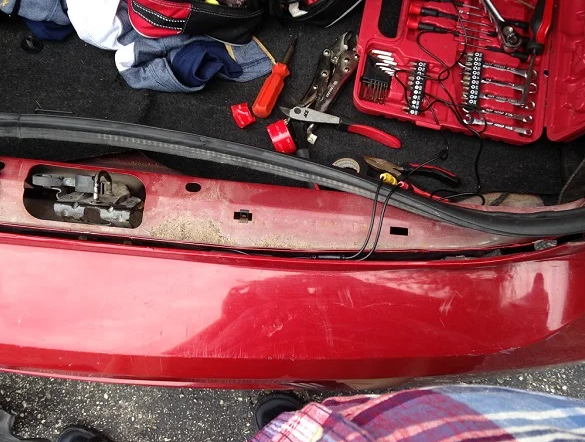
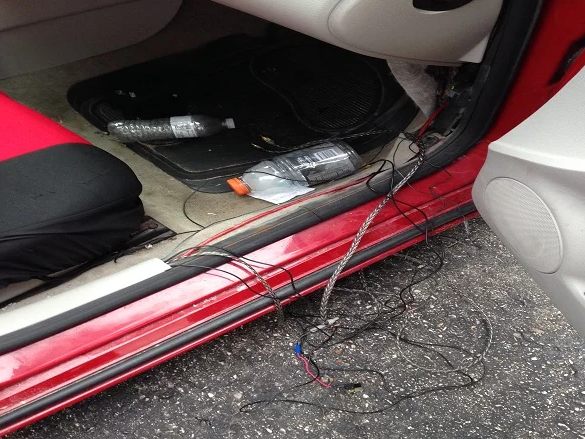
7. Place the rear view camera right above the license plate on lip and run the wiring between the bumper in the trunk housing. You will need to remove the rubber trim on the base of the trunk to see the gap. Connect the positive of the camera to the positive of the reverse light, along with running another wire to the stereo and connected to the positive (red/brown) on the reverse light, that is used to signal to the stereo that the car is in reverse, the negative to the negative (black). Run the wiring under the rubber and under the rear trim and under the trunk carpet to the stereo.
8. I already had the RCA's for the amp wired up there and also wire up the video cable under the trim the wire for the rear view camera. I also had under the trim the positive wire for the amp power. Connect all the inputs for the rear view camera and RCA's to the stereo. Also wire the USB cord down the side of the console and coming out under the climate control.
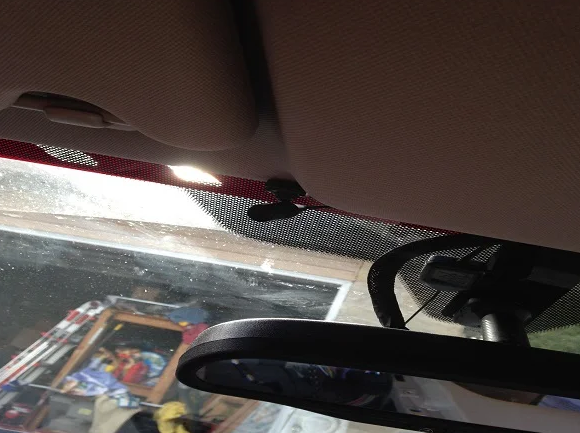
9. Wire the microphone speaker for the hands free calling to where you would like it to, I installed mine to the left of the mirror then run the wire under the trim and connect to the stereo.
10. Use zip ties to connect all the wires together so there grouped nicely and not in a mess. Also use them to connect excess wire. There a little whole in the stereo cavity where I put most the wiring and the chime adapter.
11. Screw the adapter for the dash kit together and mount to the stereo.
12. Mount the radio antenna adapter to the factory female adapter and plug the new male adapter into it and the other end into the stereo.
13. Screw the stereo in and then the climate control. Then put the trim back on.
Pictures will follow for the stereo install.