If your going to do this, proceed at your own risk, I will not be responsible for any damages at all but will try to answer as many questions as I can.
Huge shout out to 702 LTZ for the help with the install and tips. Your help was very appreciated.
Tools Needed:
- Oven
- Gloves
- Flat headed and Phillips Screwdrivers
- Wire Strippers
- Electrical Tape
- Dremel, absolutely needed
- Cutting Wheel
- Sanding Wheel
- Cutting Bit
- Towel
- Rubbing Alcohol
Time:
- Took about 4 hours with many distractions.
Projector and Bulbs Needed:
- I used the Morimoto Mini H1 6.0 Projectors and H1 bulbs for my HID kit. H1 bulbs are needed for the projector.
Note I did not use either of the H4 or H7 mounts and silicone washers included at all, seeing how they are H11.
Here is a step by step for retrofitting projectors into factory/depo headlights. The hardest part was the baking. The first headlight took about 1 hour or so to bake open as I was trying different options for opening them. Once I found what worked I used it on the second headlight. The best way was to turn the oven on to 250 degrees.
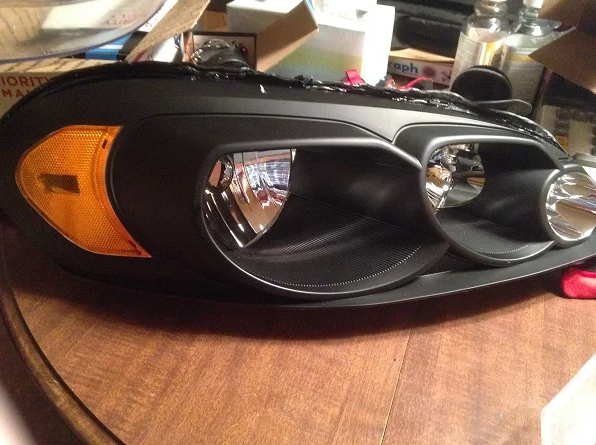
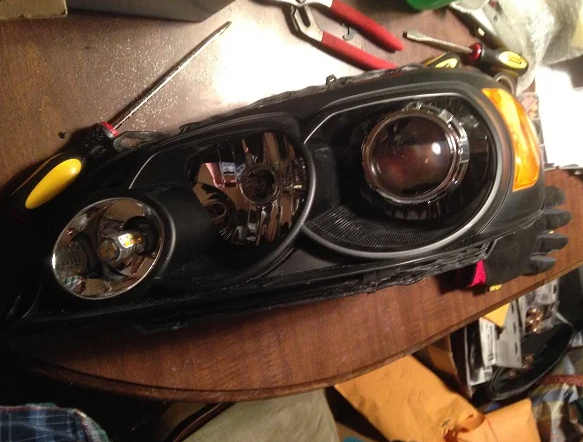
1. Bake the headlight on a paper bag or cookie sheet with the lens UP, for 15 minutes, using gloves pull out the headlight. Using a flat headed screwdriver, start at the one of the corners the side marker side is easier. Push the screw driver under the lip on the housing and pry down, that will release the rubber on the top of the lens push down and then pull up and the rubber under the headlight will release, just keep moving your screw driver down and around the headlight till the lens is removed. I got about 3/4 of the headlight taken apart with the first bake, another 10 minutes and it pulled right off. Seen in image 1.
2. Next is installing the projector. First remove the bulb shield, pull up on it, then push down, pull up again and wiggle it, it is held on with a little clip and pulls right off.
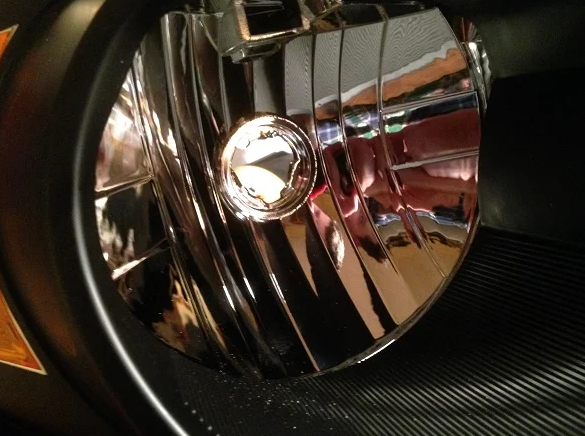
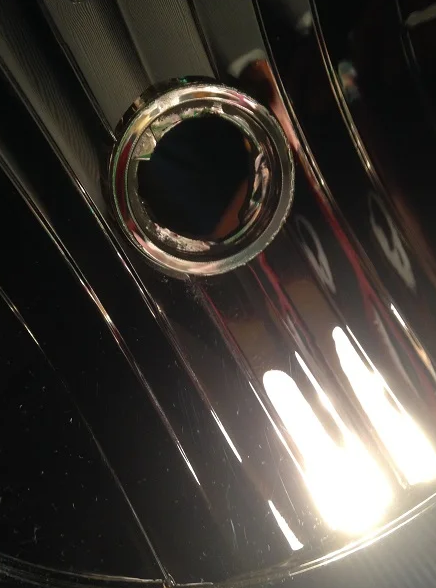
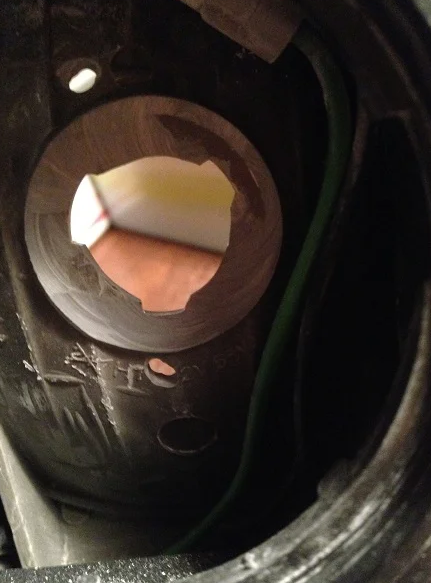
3. Next you will need to use the dremel with the sanding wheel to round out the insert for the projector, where the factory bulb used to sit. Image 2 is before and picture 3 is after.
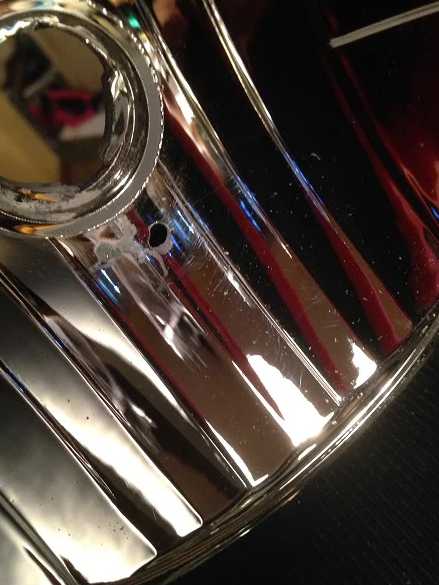
4. Next using the dremel with the cutting bit, cut a little hole under the insert for the bulb for running the solenoid wires, seen in image 4. Also cut one on the back under the headlight cap for running the wires to the high beam wires.
5. Next cut the lip off the back of the reflector with the cutting wheel on the dremel that held the bulb straight. Then sand it down to make sure its flat. As seen in picture 5.
6. Next put the end of the projector into the mounting hole and on the locking nut on the back. Don't tighten it down all the way as the projector might need to be rotated to make sure its flat horizontally.
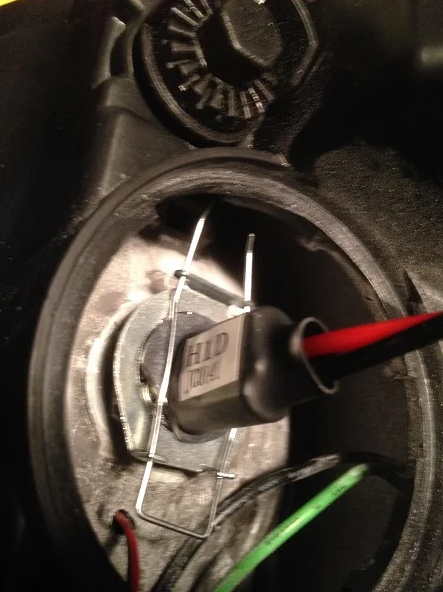
7. Next attach the three prong bulb mount holder. Screw in the three screws that hold it. Next push the H1 bulb into the projector. It will be a snug fit. Next attach the bulb holder. It looks like a U-shape and will be very snug but the bulb will not budge. The final result should look like this picture 6.
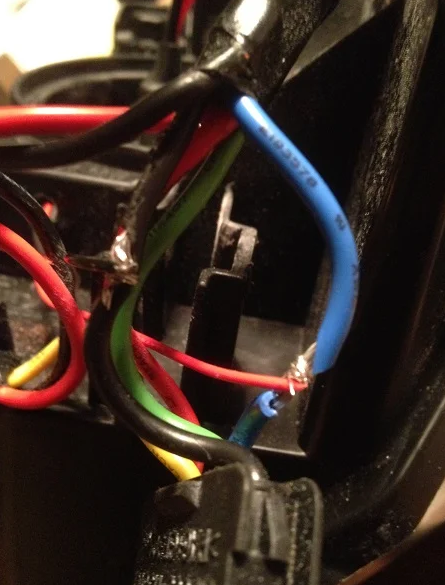
8. Next clean off the projector and the rest of the housing. The solenoid will connect to the blue and black high beam wire. The red solenoid wire goes to the blue wire, then the black to the black. I also left in my factory high beam bulbs just for more brightness., as seen in picture 7.
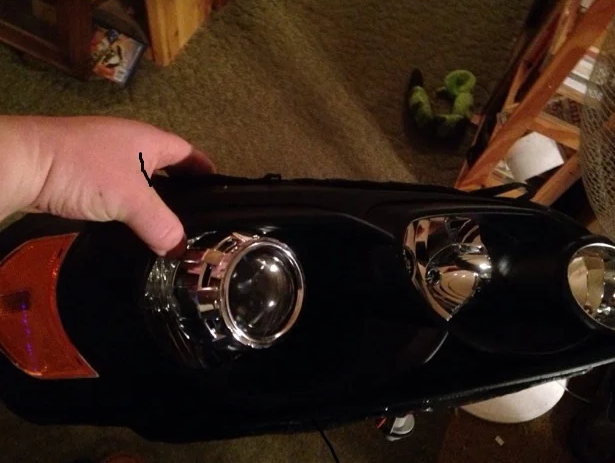
9. Now repeat for the second headlight and it should look like picture 8 and 9.
10. Now using a sealant, I used butyl rubber, press it into the gap around the headlight, then put the lens on. Make sure to wipe the inside of the lens off too. I used a towel and alcohol to make sure everything was clean. As seen in picture 10.
12. Bake the headlight again for 10 minutes and then pull out of the oven and press firmly to seal the headlight back together.
Now your all set and may need to adjust them vertically.
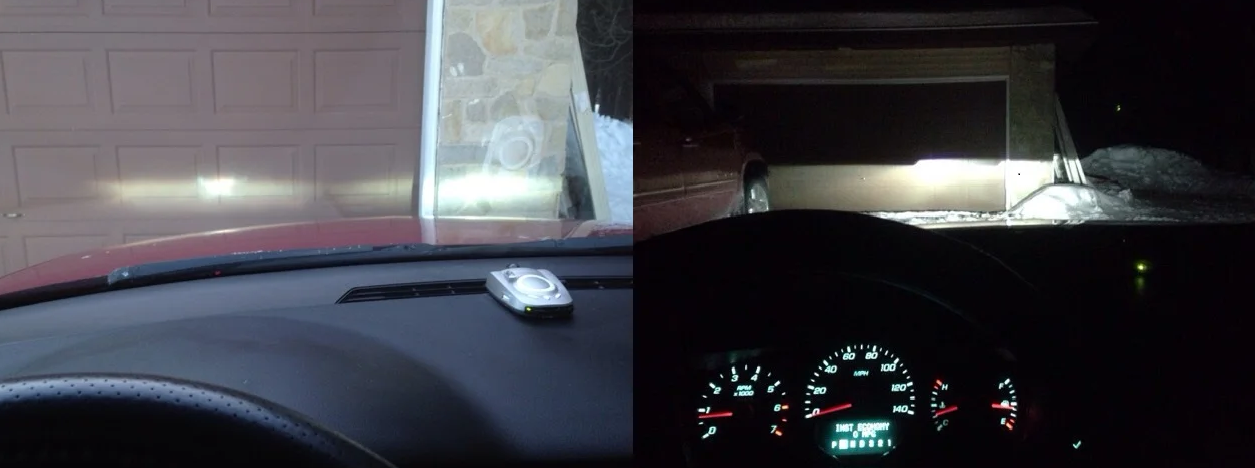
You can see the cutoff in the pictures below. First is just projector low beam then comparison between low beam and high beam.