First off I would like to thank Will@Overkill for discovering this and looking around for someone to test it, I was already interested in swapping in a new thermostat anyways so I jumped on the band wagon. I tested the thermostat first to make sure it wasn't faulty.
*I will not be held responsible for any issues you may run into with this, so do at YOUR OWN RISK!*
Things you will need:
- New high flow thermostat, Motorad part no: 2003-180, not to be confused with the non-high flow 203-180. $8

- New gasket/seal, Felpro 35614. $4
- 2 Gallons dexcool or if changing to another coolant, two gallons regardless, I buy the 1 gallon not mixed and mix with a gallon of distilled water to give me two gallons for almost the same cost of 1 gallon mixed. $12 coolant + $1 water.
- Tub or container to catch the draining coolant.
- 10mm socket with wrench.
- Flat headed screw driver.
- Scotch brite scouring pad.
- Towels of some sort.
- Pliers/vise grips to remove clip on coolant hose.
1. Remove the radiator cap, I did this just to help with the draining of the coolant.
2. Remove the clip from the lower radiator hose and slide the hose off of the thermostat housing. Draining most of the coolant from the radiator.
3. Remove the two screws for the thermostat housing, connected to the engine at the bottom of the engine and radiator, two screws at about 1 o'clock and 7 o'clock. As your removing the screws, the coolant in the engine block will begin to drain.
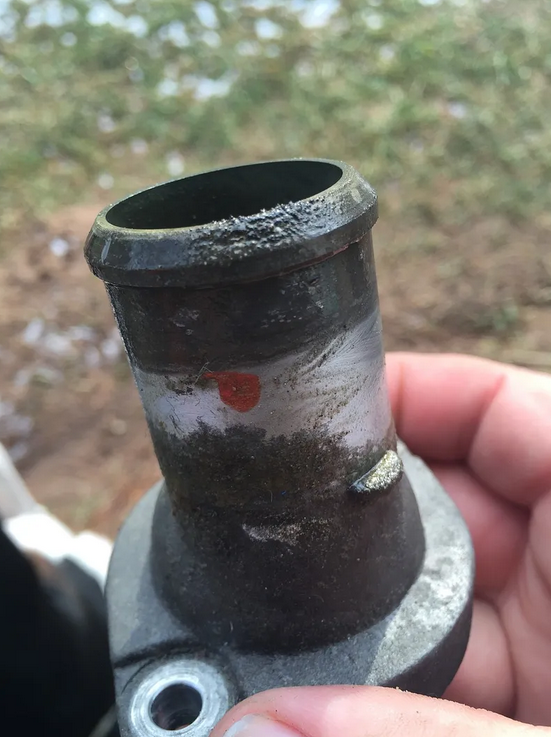
4. Once the screws are all removed, remove the housing with the thermostat from the car and get ready to clean it up and remove the original thermostat.
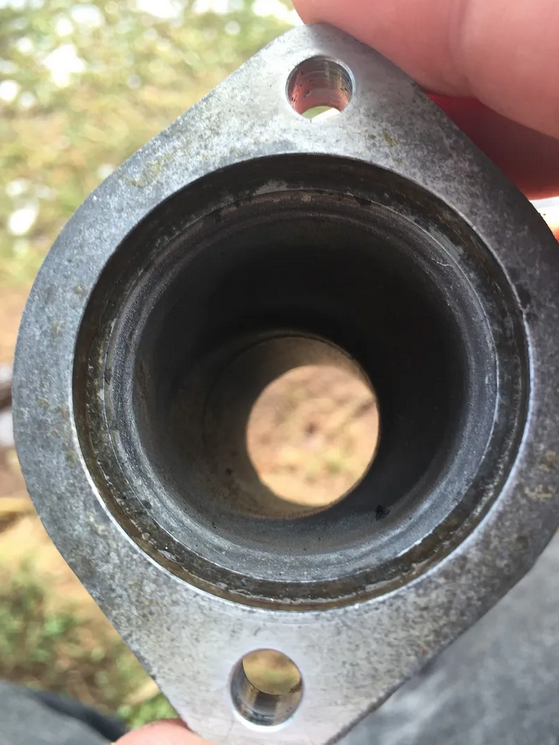
5. Using the scotch brite scouring pad, clean up the thermostat housing and the metal where the hose connects to the housing and where the housing mounts to the engine block.
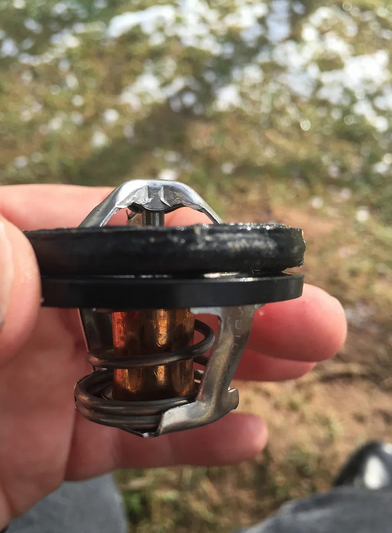
6. Install the gasket onto the new thermostat, then carefully install it into the housing. This took some time, I found it best to use the screw driver to help "feed" it in and get it sealed.
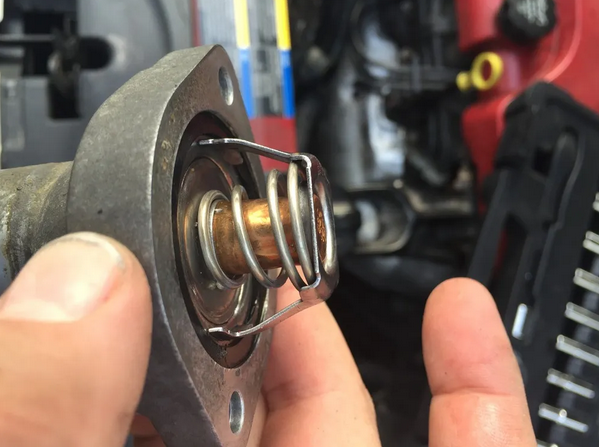
Make sure to install the gasket with the indent or lip side down towards the nose of the housing!
7. Once installed, put the housing on the engine block where it was and start to thread the screws by hand, not doing this you can risk stripping them.
8. Once fully sealed, fill up the radiator and overfill tank with coolant, start the car with the heat on high, and let the system bleed itself out, I slowly rocked the car back and form and jacked up the front end as well, squeezing slowly the top radiator hose helped get all the stubborn air bubbles out.
Results
To reduce risks of changes in outdoor temperatures and what not, before the swap I went to a local town, 13 miles there and 13 miles back, of the 13 miles each way, 6 were highway. Temperatures were taken with my ultragauge and dash command, taken at cruising at 76 mph, 62 mph and idle. Same route each time, and external temperature of 42.
Results are as follows:
Before:
- Idle, lowest temperature = 201.2, highest temperature = 208.8, average 203.4.
- Cruising 62, lowest temperature = 203.2, highest temperature = 210.4, average = 206.8.
- Cruising 76, lowest temperature = 205.6, highest temperature = 217.7, average = 211.1.
After:
- Idle, lowest temperature = 176.8, highest temperature = 182.5, average = 179.6.
- Cruising 62, lowest temperature = 180.3, highest temperature = 186.7, average = 183.3.
- Cruising 76, lowest temperature = 179.6, highest temperature = 190.2, average = 185.0.
As you can see there was quite a drop in the temperature, I have driven over 60 miles since the install with no issues or CEL. I highly suggest this due to the drop in the temperature seeing how I believe the 210-217 is too hot for the engine and my likings. If you have any questions, don't be afraid to ask and as I said I owe a big thanks to Will!
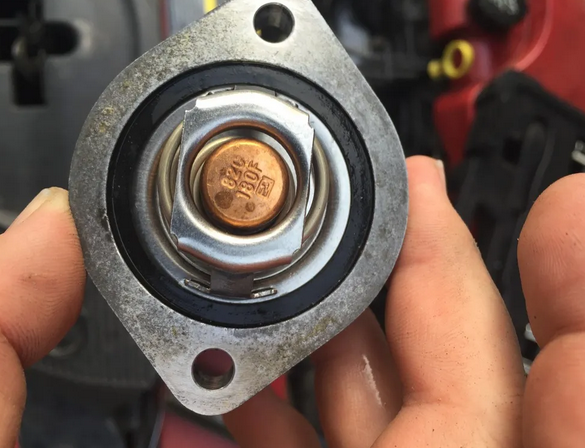
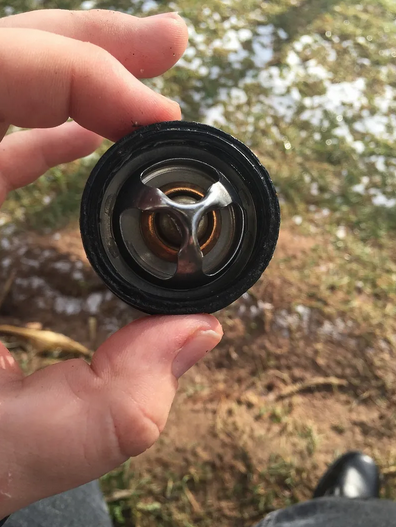
Pictures below comparing the two thermostats!
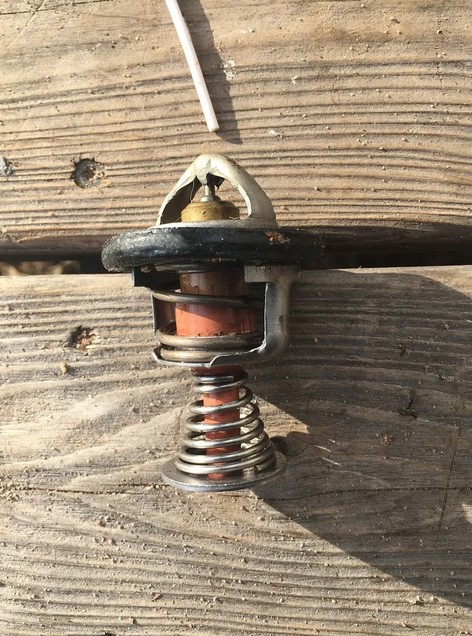
Side of old:
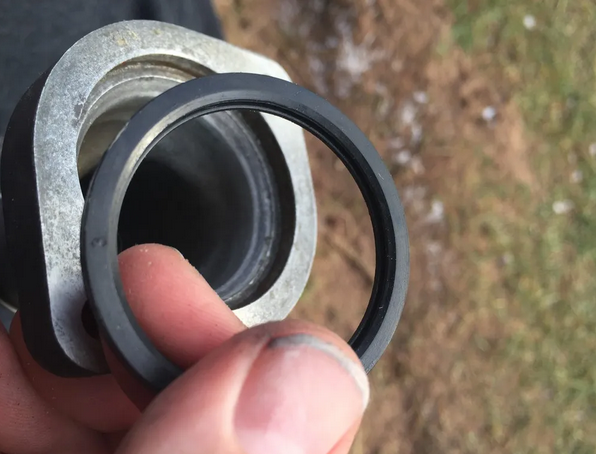
Old gasket over new one, you can see how bad the old one was:
Side shot, old vs. new gasket: