Before we start I'd like to note all the interior screws that you remove are 7mm. Please take care and remove the negative battery terminal before unplugging any electrical connectors, this is a 10mm nut (note this nut does not unscrew all the way, just loosen and remove terminal).
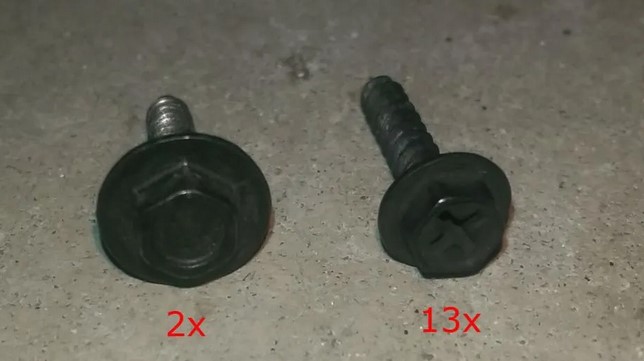
Here are the two types of screws that are removed during this process.
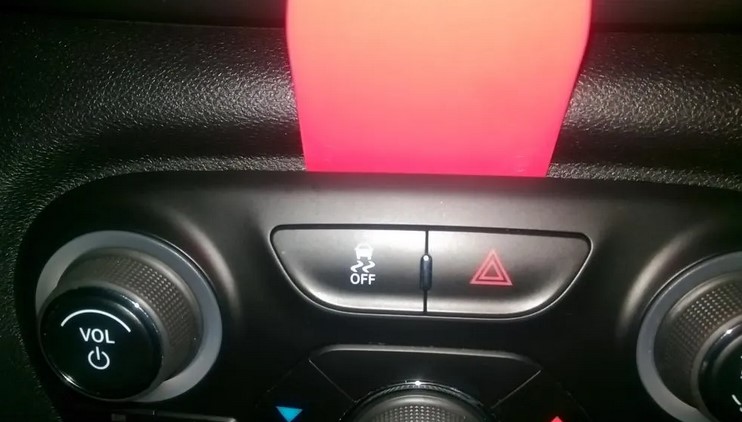
Step 1
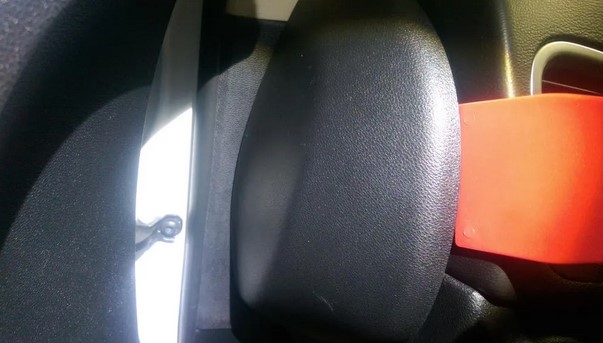
Start by removing both end caps (you could wait on the passenger side; but while you have the nylon trim tool out, you might as well get them both done). The end caps are attached by 5 clips.
Step 2
Remove the two side screws attaching the lower trim.
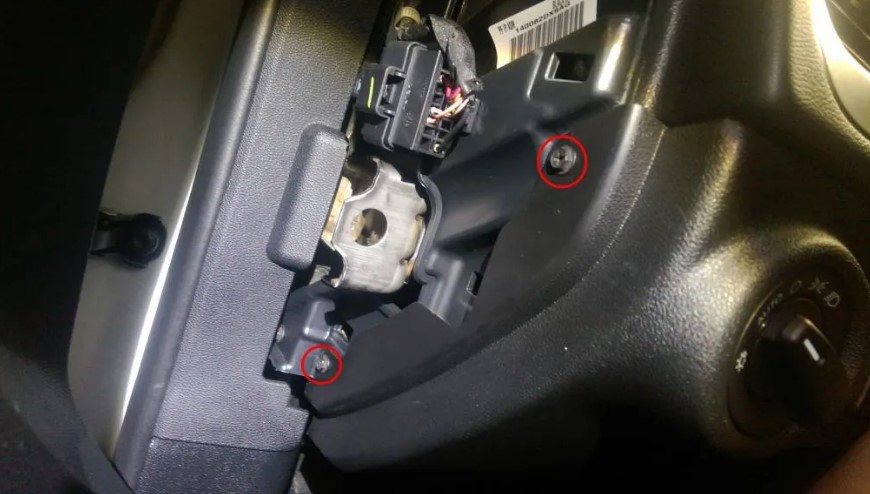
Then remove the screw located below the steering wheel to the far right of the lower trim.
Remove the lower trim by pulling gently. You can leave the connectors attached and let it hang.
Step 3
Unfortunately, I forgot an image here but there is a screw attaching the trim around the HVAC controls. It is directly to the left of the ignition switch.
Step 4
Remove the HVAC unit with a trim tool to prevent damage to the edges.
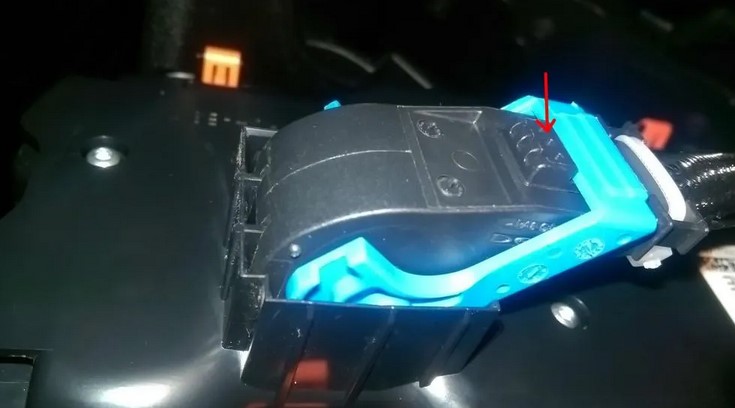
Remove the connector to the HVAC unit by first pushing down the button to release the arm, then rotate the arm completely to the left.
Step 5
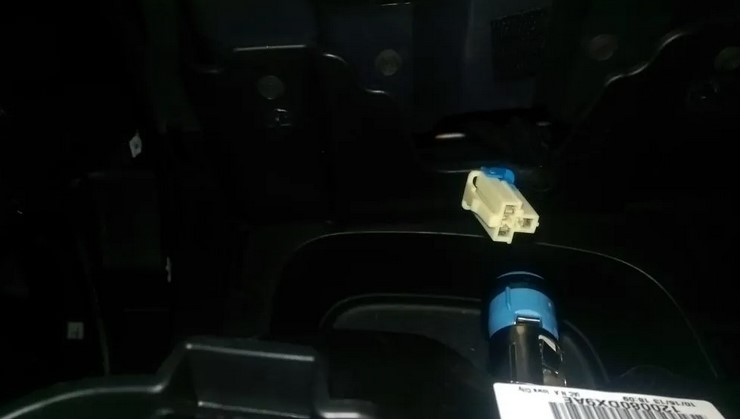
Remove the connector for the power adapter by pressing the pin in from the left.
Next, remove the HVAC surround trim by pulling directly toward the back of the vehicle. It takes a bit of force but be careful not to scratch it up (there are 13 clips attaching this trim). You can now maneuver it upwards, now the shift lever is in the same area of as the power adapter, then to the right and up to remove it completely.
Step 6
For the next few steps the pictures are taken with the top of the image being the front of the car. They are depicting the underside of the glovebox.
Remove the felt cover by pulling out the two push pins.
Step 7
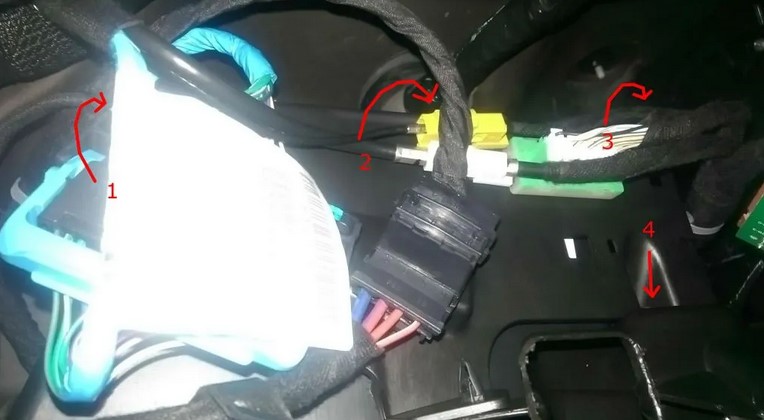
In this step, you will remove the panel holding several electrical connectors. You only need to remove one of the connectors to access the screws holding it to the glovebox.
First, remove the circuit board from the casing.

Then, remove the casing from the panel by pulling the securing tab outwards. You can then slide the casing toward the drivers side about 1/2 inch and it will fall down.
Now all the screws are accessible. Here is where they are located.
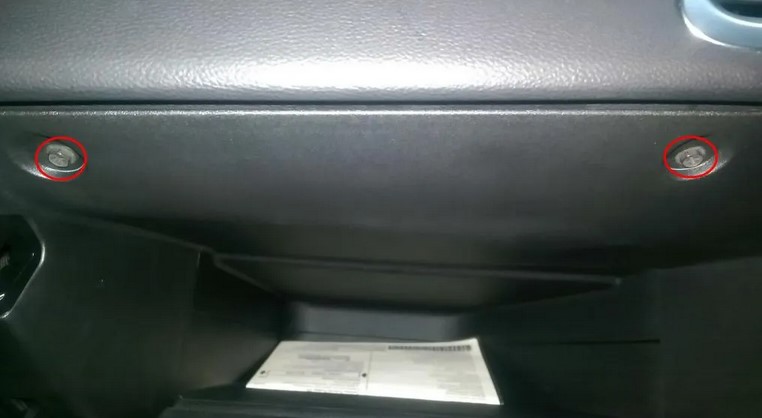
Step 8
You are now two steps away from removing the glovebox.
Remove the upper screws from the front of the glovebox.
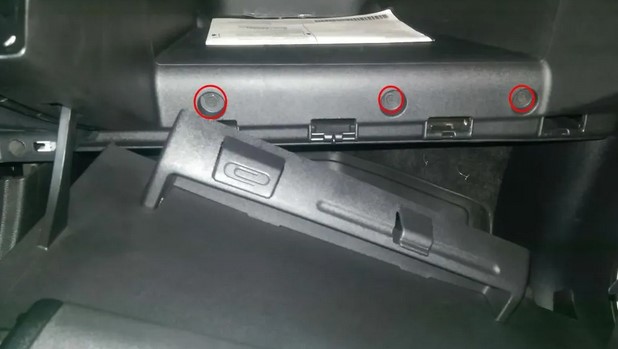
In order to access the lower screws, you need to disconnect the glovebox door.
First, pull the right arm upward then outward.
The left arm is attached to a mechanism to make the door open slowly. It will not come out of the assembly. You have to pull the arm upward slightly and with the door fully open pull it up to detach the hinges (which are plastic pieces set in a slot). Keep the door supported and remove the lower screws. Afterwards, you can put the glovebox door back in place.
Step 9
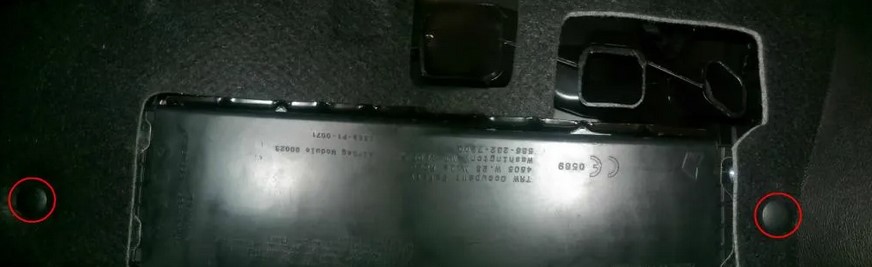
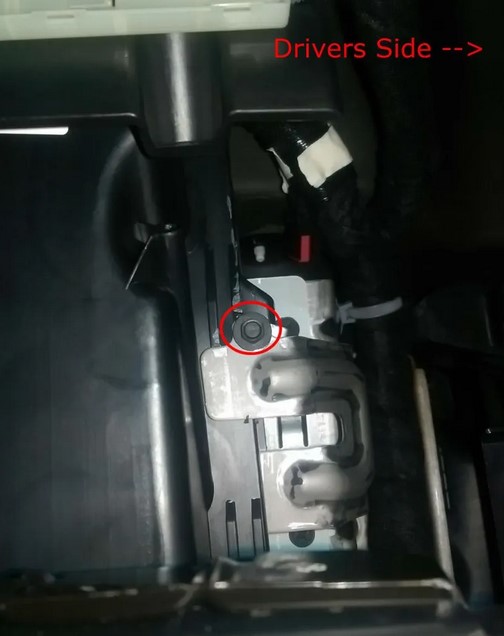
There are two screws that attach the glovebox to the framing, one on each side. These two screws are the only different screws in this process (pictured at the beginning of the wiki).
Step 10
You can now remove the receiver unit. It is attached to the frame by a bracket with four screws. My new unit came with this bracket. If yours did not you will have to remove the four black screws and the electrical connectors then swap the bracket to the new unit.
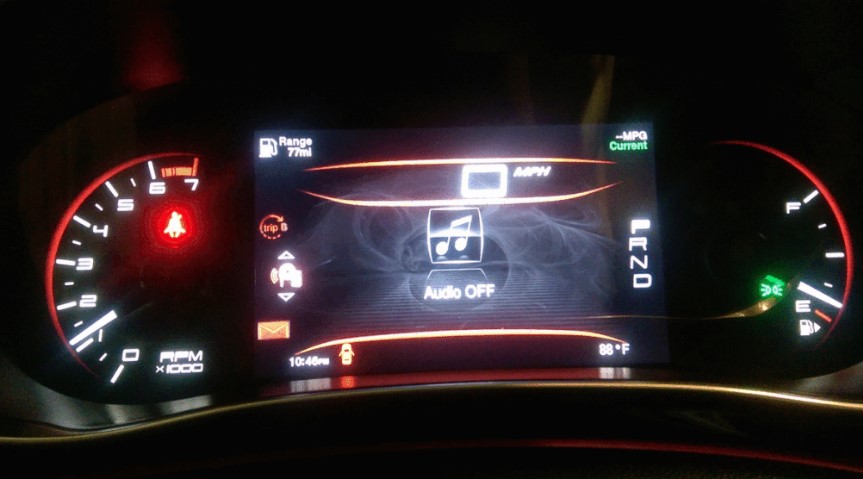
Here is the final result, now I have the nav option. Just need to follow up with the dealership for the AntiTheft code and PROXI-align (to fix the flashing odometer).