Just a report on my install since I didn't seen a lot of info about this kit going in to it. I ordered the 232N2 3" Lift Kit from Rough Country (via Amazon) last week and installed it this past Thursday and Friday. This was the first lift I've installed and probably the most "work" I've done on any vehicle, certainly on my "new-to-me" truck. The instructions were pretty clear and I was able to follow them step by step.
I did both sides at the same time, doing a step on one side then repeating the step on the other. All was going super well, I had even told my wife that I thought it was going pretty easily, until I got to removing the lower ball joint out of the old knuckle. That was a real PITA. I knocked the crap out of the old knuckle with every hard hitting tool I had, even tried an air hammer. I ended up having to get a pickle fork and even after hammering that in it didn't break. I slid a 1" pipe on the fork and eventually was able to make it pop with some extreme leveraging. I busted both ball joint boots doing that so I have replacements on the to-do list down the road.
The other step that I spent quite a bit of time on was adjusting the brake lines in the clamps. I really had to soak them down with the WD-40 and yank on them, to the point I was worried about breaking the lines. There was quite a bit of rust buildup between the hoses and the clamps. I kept getting more and more frustrated with it because it seemed to me that there wasn't much I could do to release those clamps short of cutting them off or replacing the lines. I tried everything I could think of to try and get it to spread apart a bit, but couldn't get the steel to budge. On one side I was able to bend the straight part of the clamps and basically install it upside down on the knuckle. It fits and the cables move freely. Once I realized how much pull I had to use get the cables to move (a lot) the other side went easier. Ideally I would really like another couple inches in the brake line.
The rear end went with no problems at all. There's a small bolt that on the driver's side shock mount that the instructions recommend to grind down. Instead I put a couple washers on it to space it back, no grinding needed.
After all was said and done, when I drove it to the tire shop for an alignment, I thought I had royally screwed something up. The handling was a mess and the tires were squeaking the whole 10 miles there. 30 minutes later though, after the alignment was done, it drives great. The ride is MUCH better (my stock shocks were wasted, bouncy as hell) and I love the look. If I had the money, I probably would have liked to go with their 4" kit instead, but I'm still really happy with this kit.
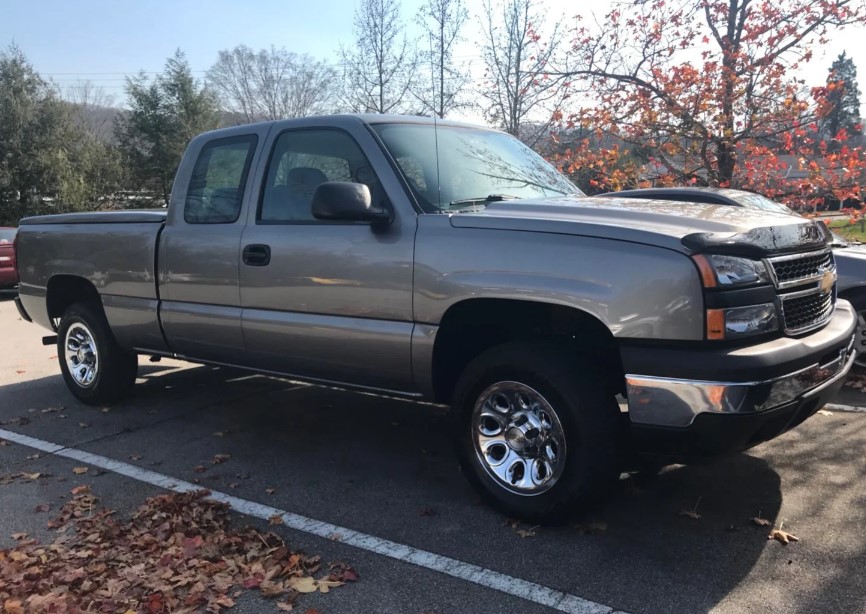
I have 245/70/17 tires on, I'd like to get something bigger and less highway minded. I also have some running boards coming, the little kiddos have trouble getting in.
Story’s Author
 United States of America, Illinois