Even if you don't find yourself under the hood very often, this $30 mod ensures you'll never have to poke around the engine bay without ample lighting. My E burns oil and the clutch slave cylinder leaks, so I find myself checking fluids quite often! This mod adds an aftermarket dome light to the hood, with a tilt switch trigger to turn itself on automatically. I stopped with the one light, but you could easily add more. You'll also get mad props from your mechanic for giving them a free work light. The light I chose is 480 lumens which absolutely blows our interior lights out of the park, even with LEDs swapped in. It's BRIGHT!
Difficulty: 1/5, very basic electrical knowledge and common sense wire/cable ziptie techniques required.
Materials: Tilt switch, Dome light, 10 feet of 2-strand wiring (like speaker wire), add-a-fuse
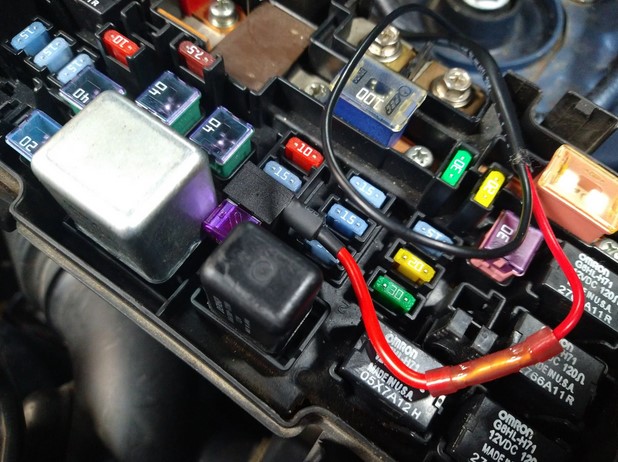
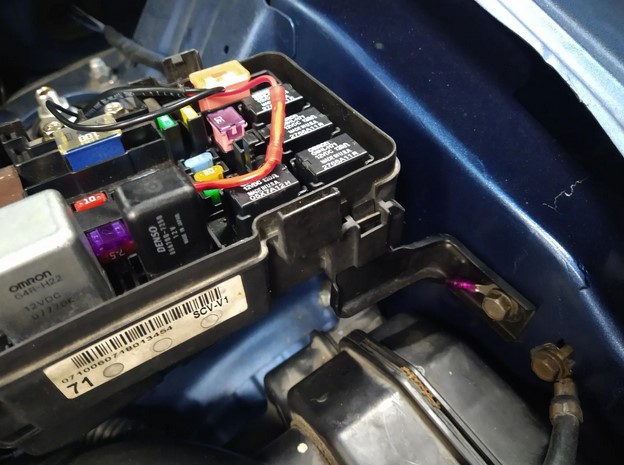
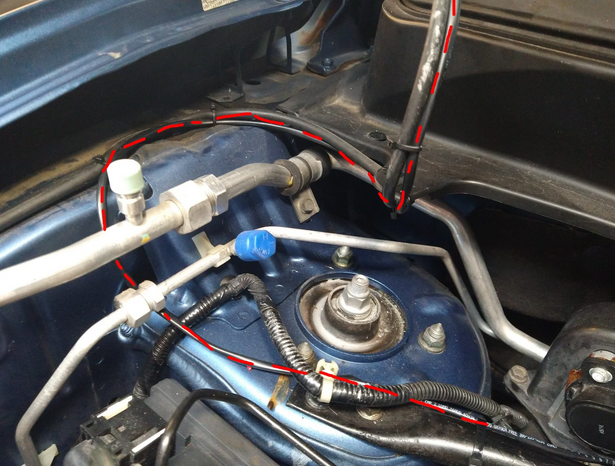
Step 1: Find power and ground. I used an "add a fuse", which taps a factory fuse and adds a second smaller fuse source. I chose the 7.5A interior lights fuse, which is a constant. You could also wire this directly to the battery, just make sure you put a fuse on it. The dome light I used burns a whopping 400mAh, but I used a 3 amp fuse because that's the smallest I had! I also grounded the speaker wire to the bolt that holds the fuse box onto the fender, right next to the factory battery ground. It's not a great ground, but it's just a light, it'll be good enough. Disconnect the power fuse before doing any more wiring so we don't short it out on the frame of the car.
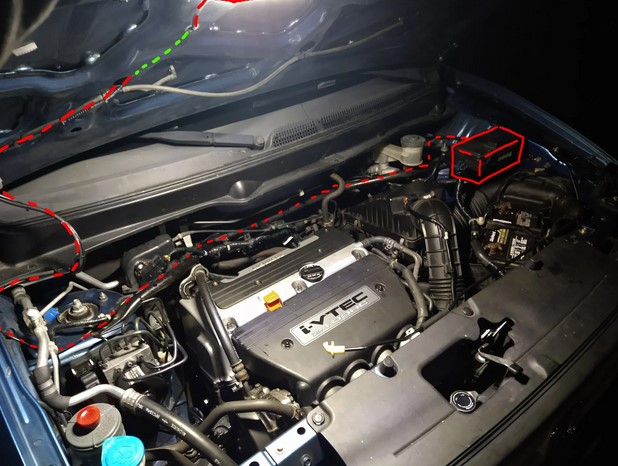
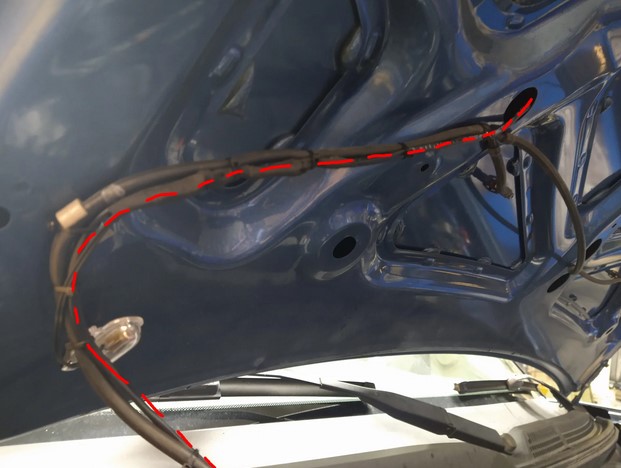
Step 2: Route wires. I ran the wire along the stiffening bar that goes between the shock towers. The goal is to get over to the passenger side, where we follow the tube of the windshield washer spray up and into the hood. Be careful not to overtighten the zip ties on this hose, it is thin and can be kinked. I elected to run the wire for the light into the skeleton frame of the hood and drill a small hole for the wires to exit near the light, just so the wire wasn't exposed in the last foot.
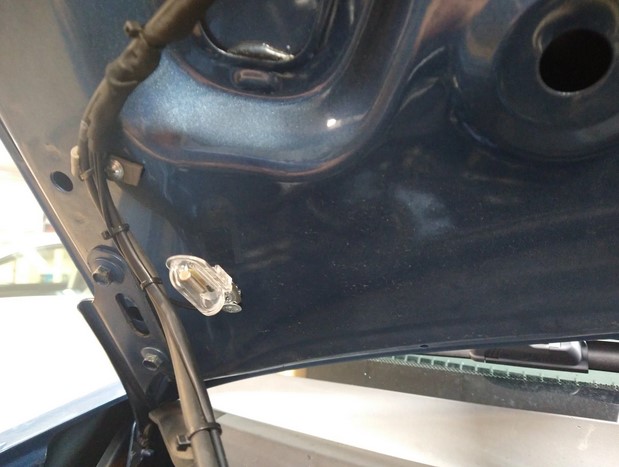
Step 3: Install the tilt switch. You could also use a hood pin if you're feeling up for it. The tilt switch is attached to the hood, I used short 1/2" self-drilling screws in the lower section. It is wired to interrupt either of the wires, and bent so that it is at approximately 30 degrees up when the hood is open. This will turn the light on, but when lowered roughly half way the light should go out. The mount is flexible, so bend it around until you find a setting you like. See wiring diagram below, I chose to switch the ground as a habit, but it doesn't really matter.
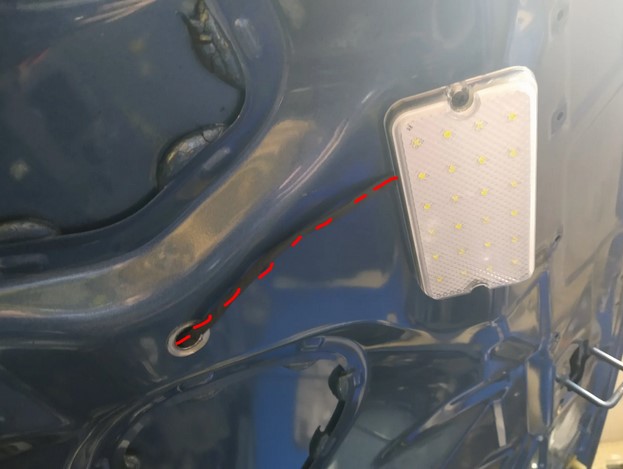
Step 5: Install the light. I chose a relatively level spot on the hood's skeleton reinforcement just offset from the latch and used two 3/4" screws with no penetration of the hood itself. You may opt for different placement and/or different attachment methods. If you're using screws, of course verify you won't drill clean through the hood. Also, here you can see the hold I drilled to pass the wire through instead of using external zipties. Came out really clean.
All done! That wasn't so hard, was it?