So without a game plan I dove in and started this project today...
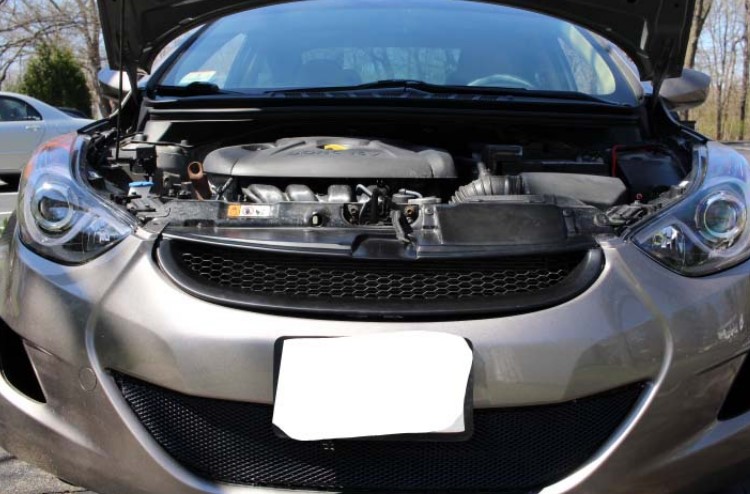
Removed my front bumper cover ... the wheel well weather stripping from the dealership had to be removed in part to get the bumper off :\ hopefully it goes back on, and stays on, without an issue... Although I realized that it was only a stick on on the outside of the bumper, like a pin stripe design, doesn't seem to actually function as anything other than a tiny bump guard.
Brought the bumper inside the kitchen, of all places, to start the disassemble.
Got the upper grill off, then the lower grill. It was a bit of a process figuring out the best way to pop each point off.
Tools used so far for the actual mod......
Multifunction Oscillating Power Tool - 1.6 Amp, 120 Volt
Oscillating Multi-Tool to make quick work out of cutting the plastic, a dremel would work just the same with a cutting wheel on it.
Rotary Tool Kit - 80 Piece Set
Then I did use a dremel type rotary tool to do a bit of sanding of some points
And a piece of sandpaper just to give it all a once over...
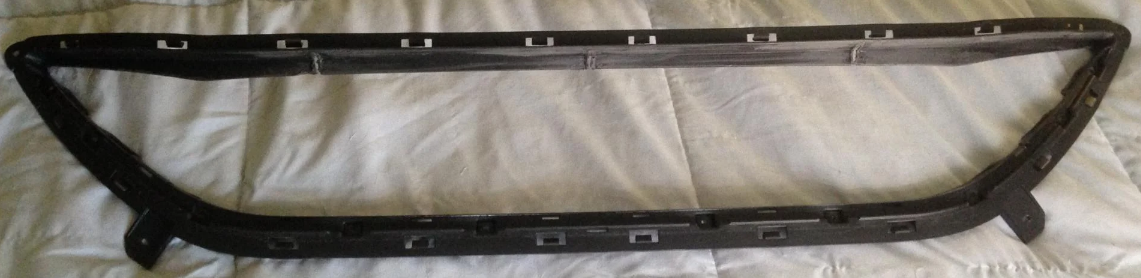
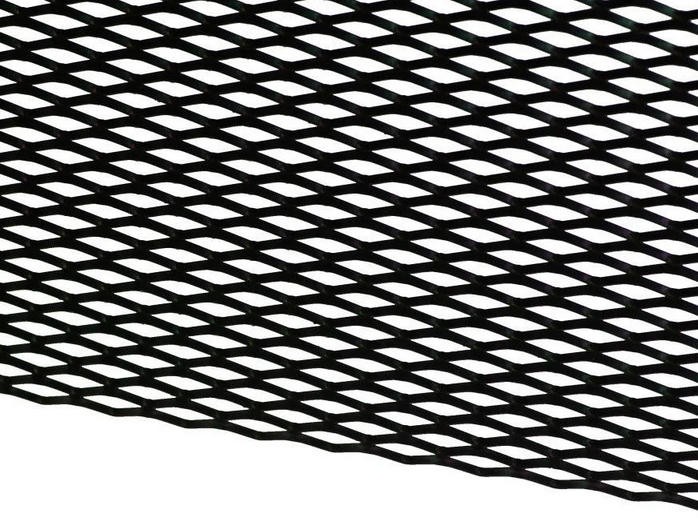
This is what I've got so far...
My lower grill is now a frame to hold the mesh. What I've got to do now is figure out how I'm going to form-fit the mesh into the frame and cut it to size. Then secure it.. I'm thinking of a basic epoxy around the edges.
Now would also be the time to maybe give the frame a coat of paint and make it shine, instead of the dull plastic it is.
Got around to proceeding on this today.......... here's what I've got so far.... I'm fairly happy about this, will see what it looks like on the car and decide just how well I did!
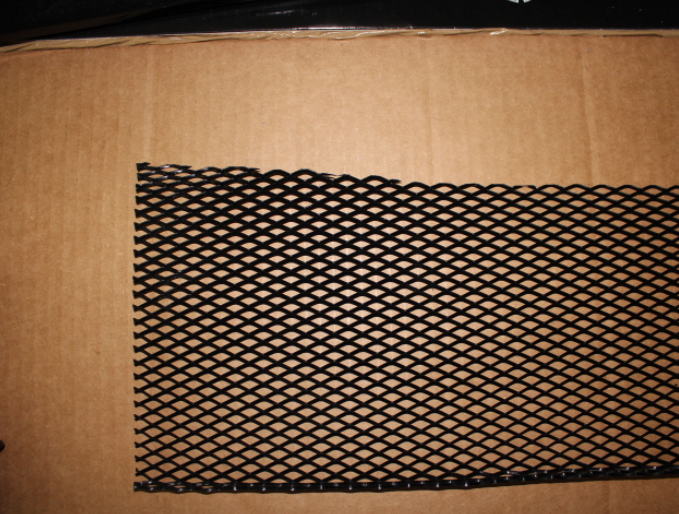
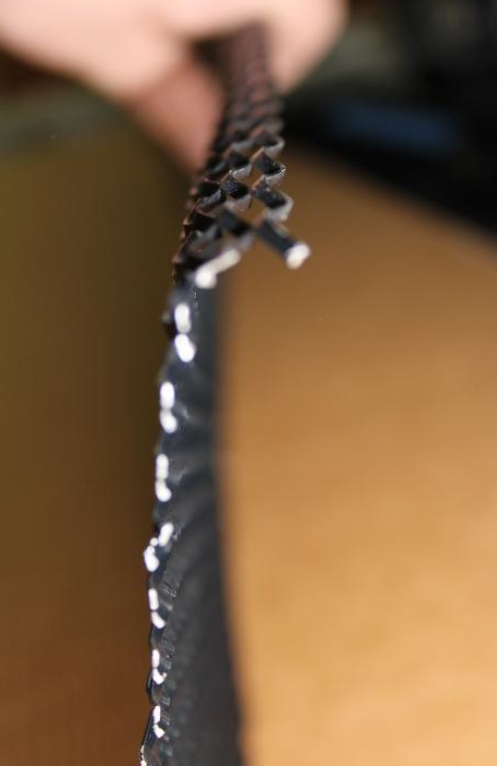
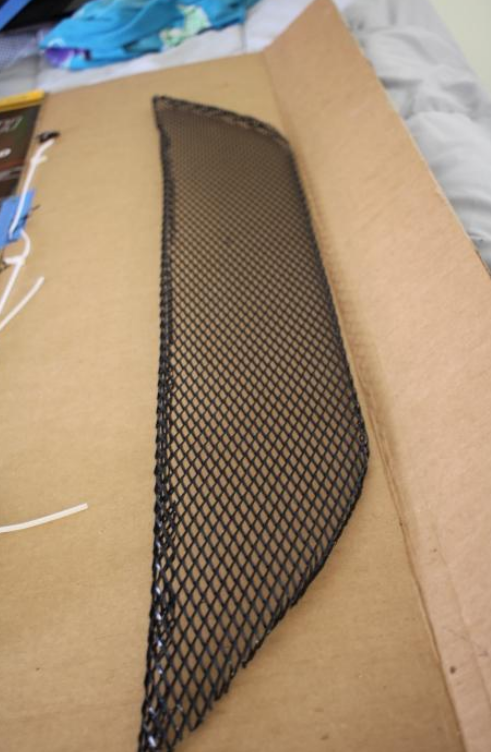
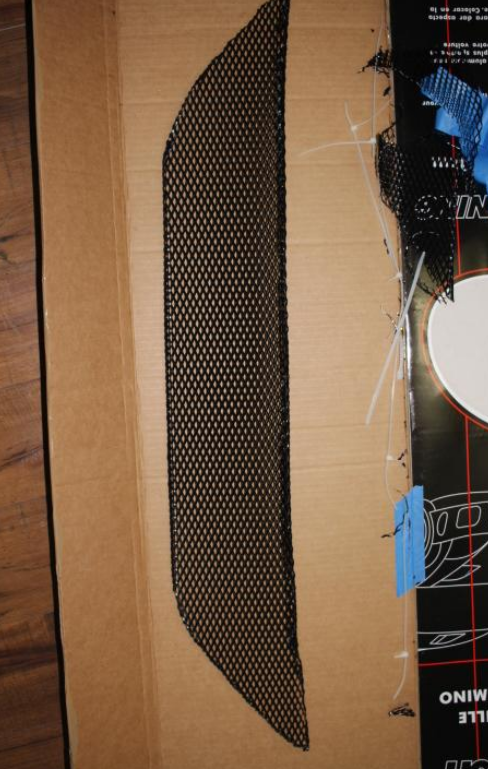
Started by giving it a rough cut for the outline of the grill frame... I left an inch to 1.5 inches of working material around the inside of the frame where the mesh was going to be placed so I could bend the edges and form it.. I started by folding the bottom edge in for the bottom of the frame
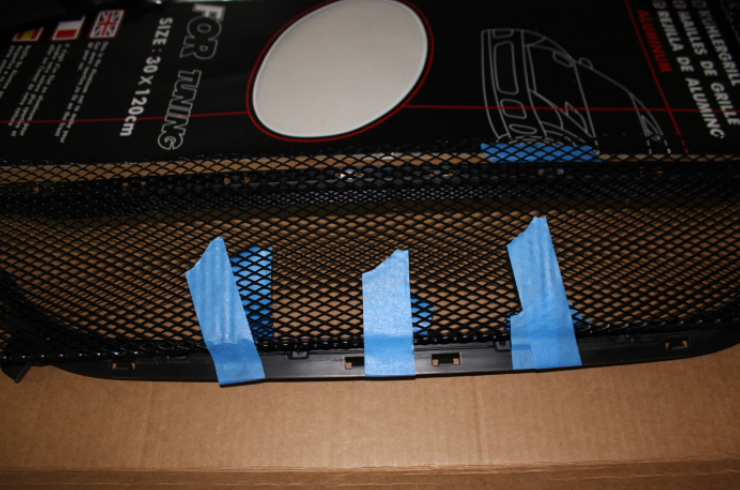
I used some painters tape to try and hold the mesh in place as I worked
the edges of the mesh but the tape doesn't hold very well on this
material
I ended up using zip ties to hold it while I formed each area
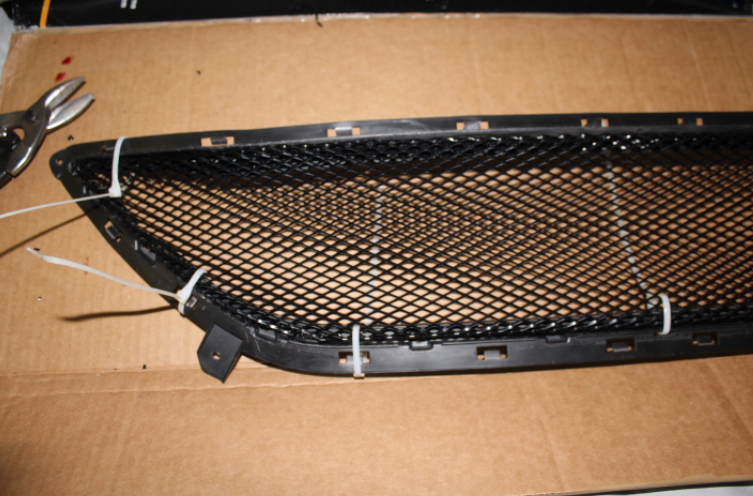
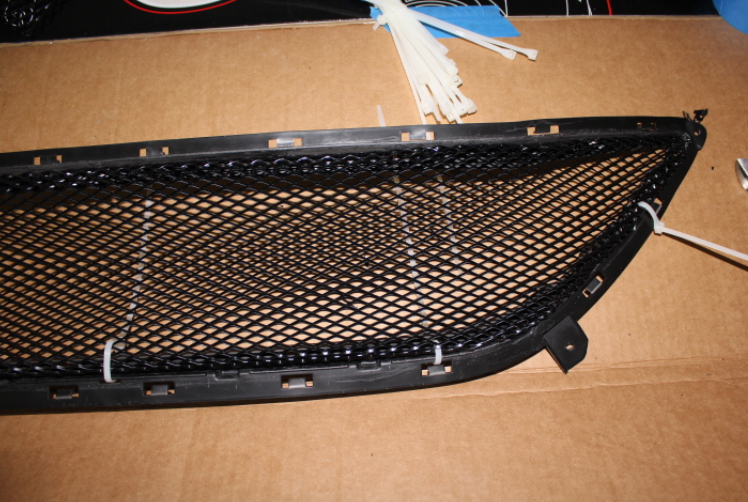
The corners were sort of difficult to deal with... ultimately I ended up
messing them up a little bit.. on the left side I cut too narrow and
didn't leave a ton of material to work with and fold into the corner,
and the top left edge didn't get to be folded in.. it shouldn't stand
out though..
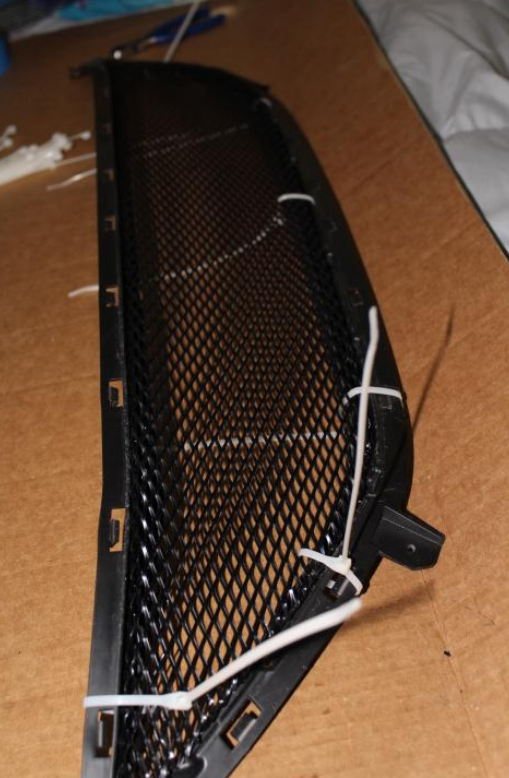
Ended up with this piece
I'll probably spray it with some gloss black rustoleum to seal up all the fresh cuts, maybe some clear coat as well since I have a can of that... then I'll throw some epoxy around the edges, get the mesh back into place, zip tie to hold........ and wait!
The frame isn't extremely visible but I still may either give that a gloss black coat or a body color desert bronze coat of paint to make it fresh....
By the way...... I'd probably wear gloves next time.. only stabbed my fingers a couple times on the sharp edges of the hex mesh.
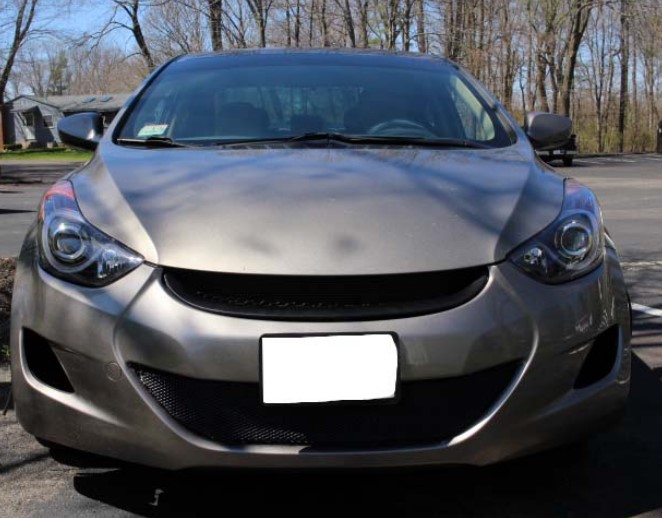
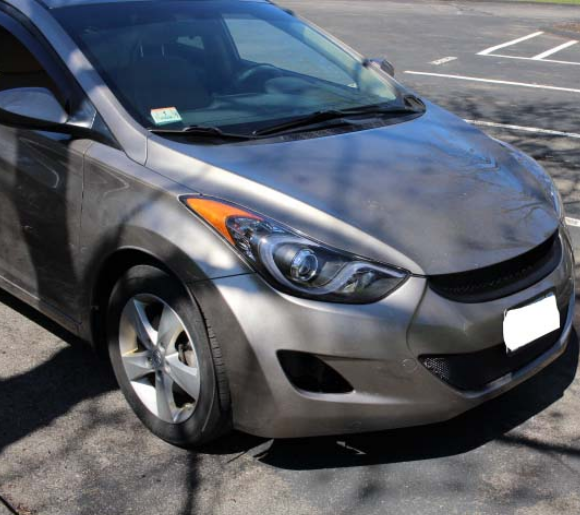
Ok, finished. Let's find out how long it lasts now!
I ended up messing up the top corner again.. on the side where I did not leave enough mesh to work with.. it popped out again while putting it back in the bumper. I ended up using a black zip tie to keep the corner in. It's not visible unless you're right down there looking for it.
Also on the same corner, somehow I managed to rip the mesh like a folded piece of paper. Zip tie to keep that together.
Overall, I'm satisfied for my first attempt at this DIY, ever. Let's hope that it lasts!