OK, I couldn't take the clip-on racks any longer. I've permanently installed Yakima pads on my last several vehicles so it was only a matter of time before I put them on the Prius. I started with the clip-on racks, but I'm just never happy with those. Call me crazy - most folks love 'em! But then most folks don't try using the Landing Pad solution, so who ya going to believe?
So let's get started. After first checking under the headliner to make sure there are no obstructions on the underside of the roof, the front pads are measured (oh, about a million times) and marked. I did all this on masking tape to avoid scratches and to more easily erase initial lines. The front of these front pads were placed 5.5" from the front edge of the roof, and about 1/8" in from the seam crease. I chose this position so that my rear bars (positioned 32" behind the fronts) would be about 1" higher than the front. Since I'll be carrying sheet goods on these racks, I want down-pressure, and no lift!
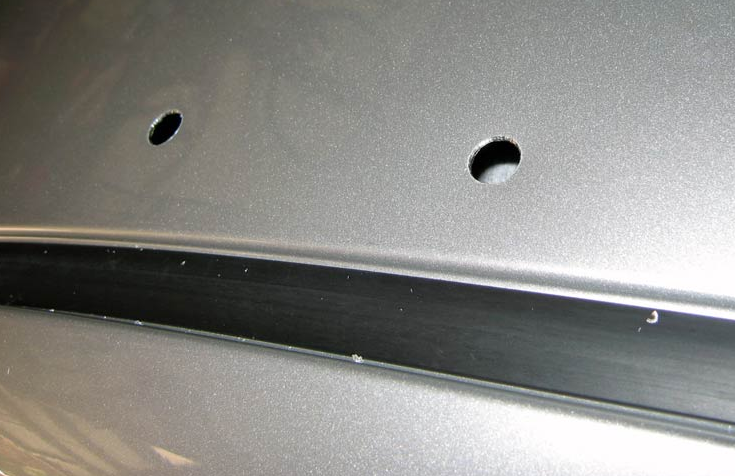
The holes and Landing Pad ready for installation. The special Yakima "Turnuts" can be seen sitting in the roof seam.
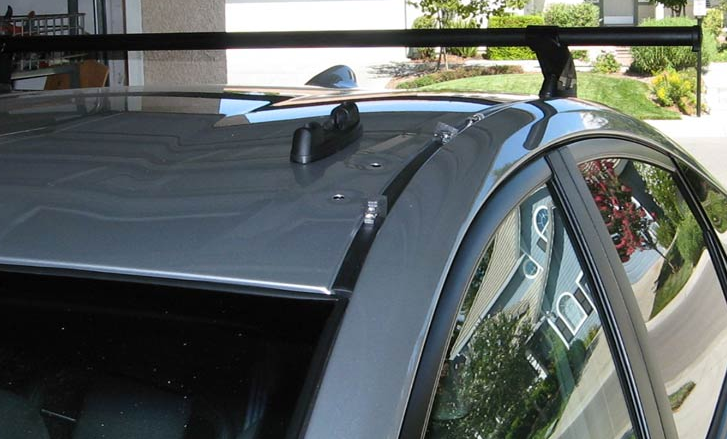
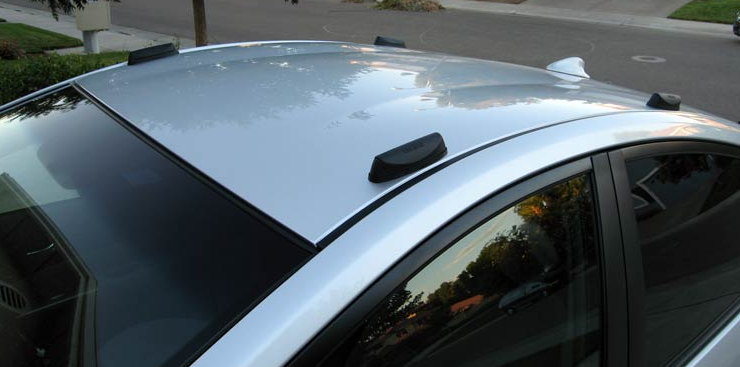
Installed with cover off.

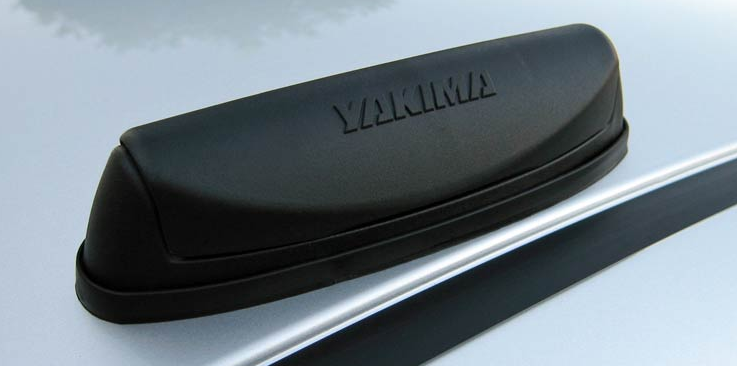
With cover on.
All the black warts ready to go.
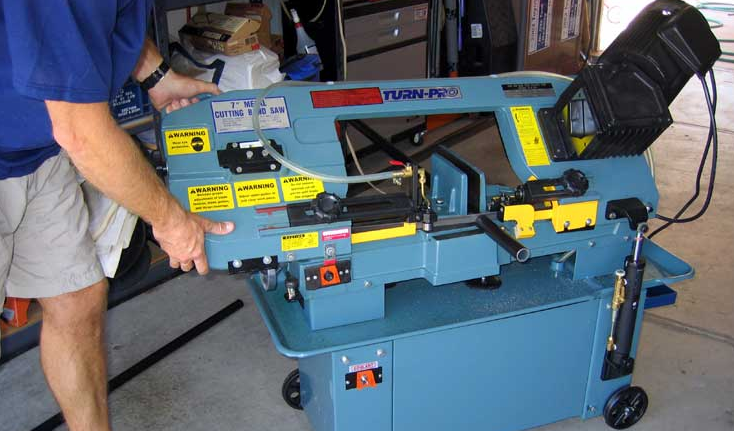
Final step was to shorten the bars a bit. The shortest bars Yakima sells are 48". The next size is 58". They cost the same. 48" is just a wee bit too short (plus there's nothing to strap to if you want to carry 4' sheet goods) and 58" sticks out enough to look a bit dorky, and you risk bonking your head when getting in or out of the car. So the solution, of course, was to buy the 58" bars and lop off a few inches. Great excuse to use my horizontal 7x12 band saw too! :) I think I took off 7", to leave me 1.5" sticking out from under 4' sheet goods.
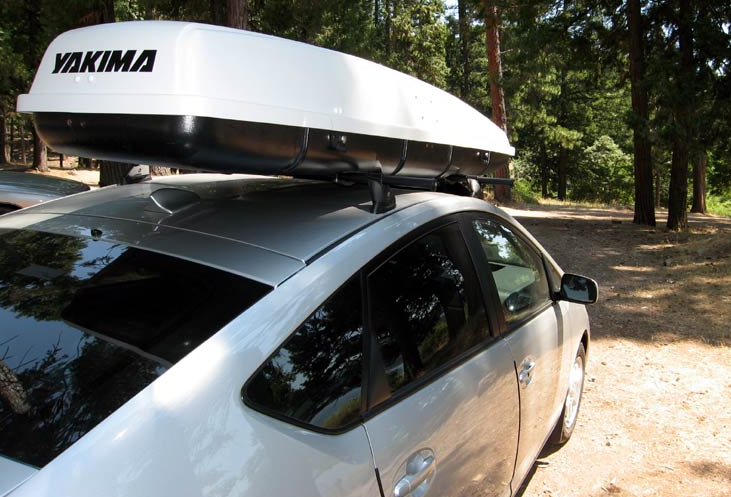
Cross bars in place, carrying cargo.
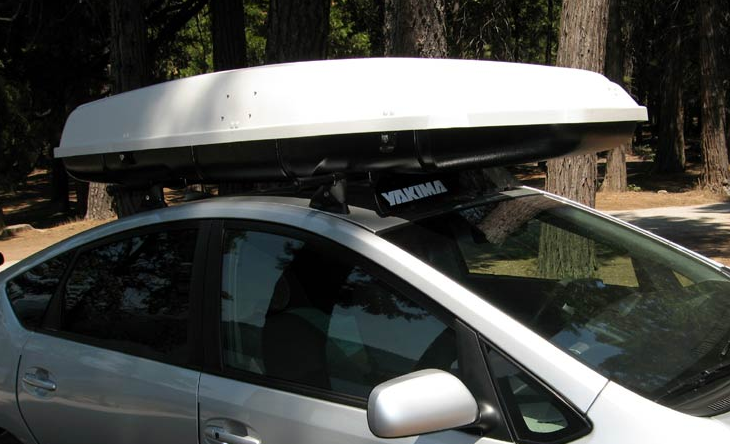
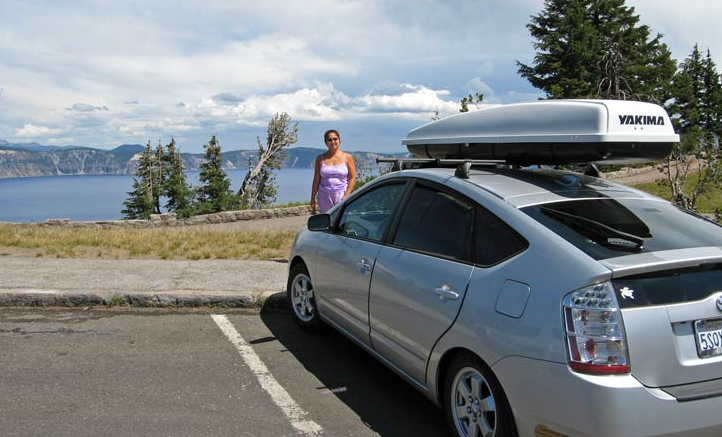
Crater Lake, OR.