Common WJ problem...tearing out washer pumps and/or wiring when offroad. The factory washer bottle is just in front of the drivers tire, and is very susceptible to damage when your axle articulates offroad.
Some of you WJ owners are lucky in that you don't have a charcoal canister under your hood, and you can use a ZJ bottle under the hood and ditch the WJ one. That isn't an option for me as I have a 99. Until 02 (IIRC), the charcoal canister is under the hood instead of behind the rear bumper.
I thought of making a cowl induction hood to relocate my air filter to the box on top of the throttle body. However, I decided that the hood scoop wasn't a look I wanted right now. I am happy with the current body lines, and didn't want to alter them any more.
I thought I would follow Skully's mod and use another vehicle washer bottle, so I spent some time at a salvage yard. Most of the bottles were too large, had a weird shape, or were so sun rotted that I couldn't use them.
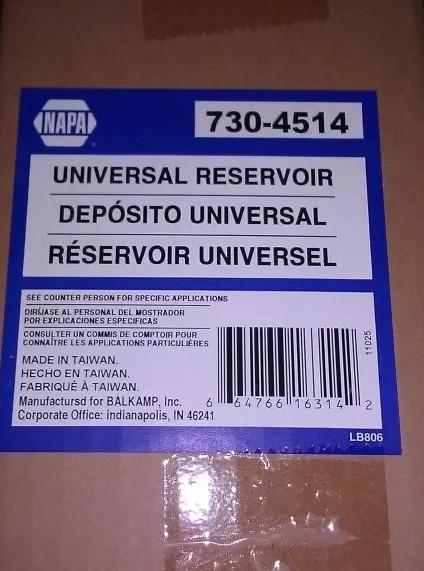
So I decided to use a small bottle from Napa and tap it for the WJ washer pumps. Here is what I bought:
It does not have as large of a capacity as the factory bottle and I will have to re-fill it more frequently. But I haven't actually been running a washer bottle due to the bad location with large tires. Anything is better than pouring water out of the sunroof to clean your windshield.
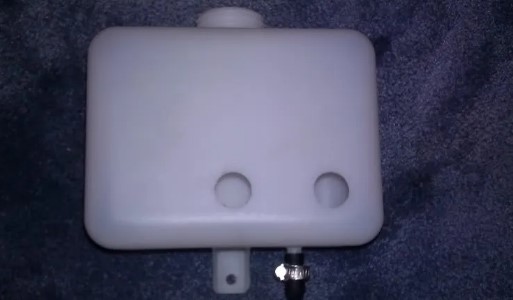
The first step was to drill out two holes for the washer pumps. I may have been able to go 1/4 inch lower before the bend in the plastic, but oh well. I used a 3/4 inch bit, then used sandpaper to sand/enlarge it a bit more to match the diameter of the holes in the stock WJ bottle. I just used a rubber end cap and a worm drive clamp to close off the coolant tube passage.
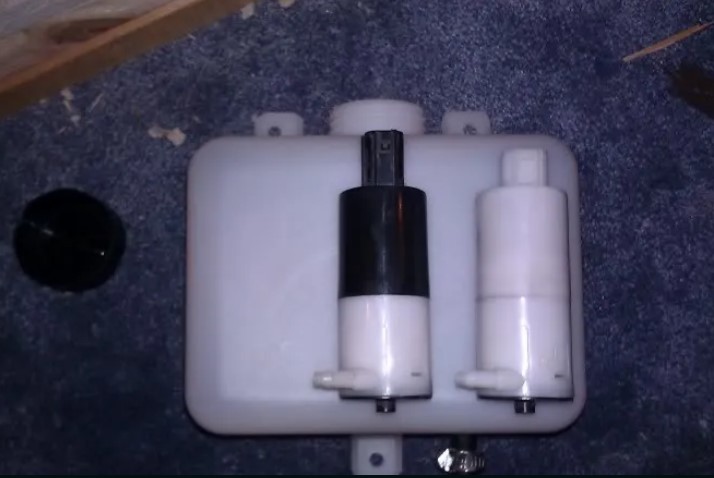
Pumps installed:
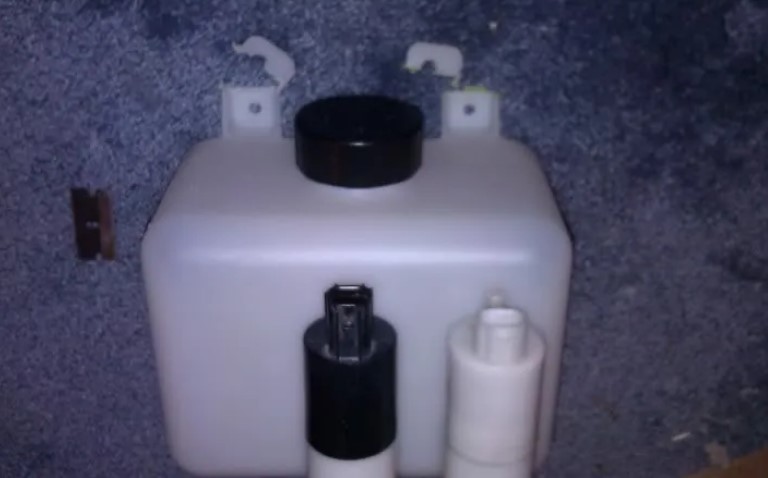
To trim down on height, I drilled new holes on the mounting tabs and cut the top section off:
I grabbed some spare sheet metal and fabbed up a small box/bracket to hold the washer bottle. The holes are for a bottom mounting tab I will not use, and for the coolant plug at the bottom that I will not be using, and have sealed off. I know I could have used different motors that siphon fluid from the top, but the WJ pumps and wiring can be easily used. I sprayed it with some flat black spray paint after getting it installed.

As the heat shield will rub a bit on a line above the engine, and also a brake line, I covered both with small lengths of rubber hose to prevent fatigue and/or rupture.
The metal tray (heat shield) was necessary because this will be directly above the head and exhaust on the drivers side.
Then I pulled out the metal tray drilled some mounting holes in it and painted it black.
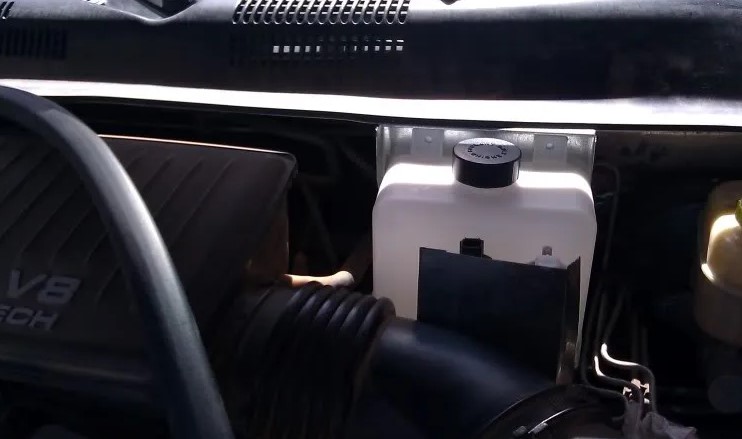
The final mounting task was to cut a bit off of the plastic cowl panel. I trimmed more than I needed to, but it is mostly covered by the gasket when re-installed and isn't visible with the hood closed. It is a coolant bottle, but I may try and come up with something to label the cap.

I added a little length to the electrical wires (because I didn't want to tear into the wiring loom any further back than the airbox) and re-wrapped them, and retained the factory electrical connectors. I ran the wires and fluid tubes next to the firewall, and viola!
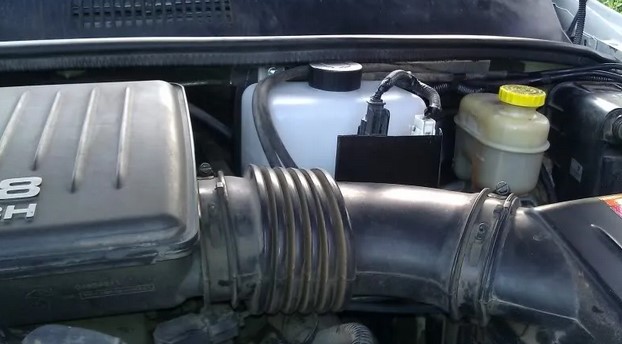
After a road trip up canyon highways at 99 degrees, the heat shield and bottle held up well. I am glad to finally have a permanent solution to this problem.
A BIG thanks to Skully'sXJ for the inspiration when he did this to his WJ. His voyager bottle mod has had me thinking about this for a long time.
Total cost: ~$12.50 for the washer bottle and rubber plug.
I already had sheetmetal, electrical tape, electrical connectors, and some extra wire on hand, but you would need to spend a few more $ if you needed that stuff.