How to Fix Brake Light Issues in Your Mini Cooper Like a Pro
Last Updated on 2026-07-15
Okay bro, fetching some coffee sounds good. How about we discuss this issue as if we were in the garage together? So the issue at hand is the brake lights on your Mini Cooper, huh? No problems arise in fixing this issue without you losing potential paychecks to overpriced dealership fees. Brace yourself for this next statement, albeit strange: With the help of proper knowledge, a bit of tools, and of course, a flashlight, we'll have those glowing like new. The problem can easily be solved.
So, Your Brake Lights Aren’t Working — Let’s Get Dirty
Right off the bat, it’s best not to panic, as the solution to your question can be a quick and simple fix. But with what we just discussed, for the sake of conspiracy theories, we’ll be checking all elements, ranging from the lightbulbs to the brain box in the car. We will remove systems at quantum numbers until we need to go deeper. Rest assured, you’ll want everything to be checked.
Step One: Let’s Check the Obvious Stuff

The Bulbs
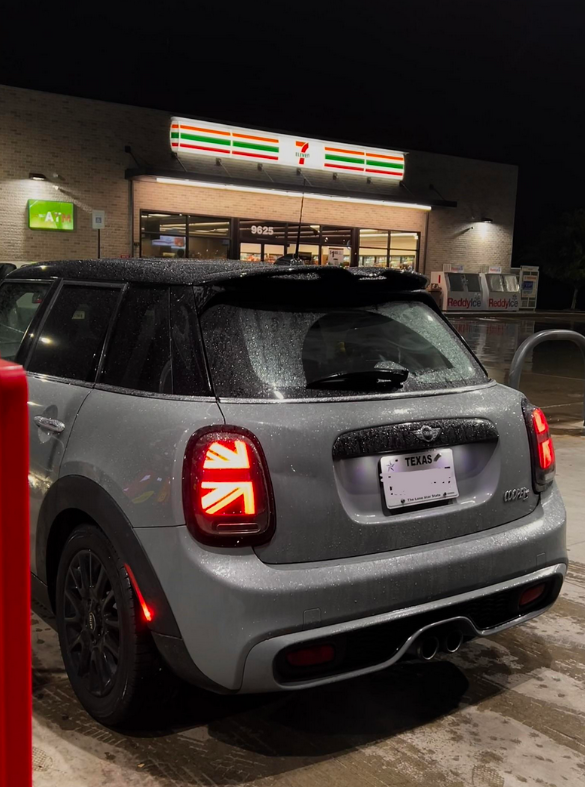
To reach those tail light assemblies, open the hatch, remove the liner, and gain access to the assemblies. Be sure to examine the bulbs because the bulb holders must be removed. In case they seem perfectly fine, let’s be honest—just one filament is enough to fail these bulbs. A dual-filament bulb may be able to illuminate the parking lights, but might entirely fail on the braking functions. You have the option to test it, but let’s be real? If they’re old, simply put, change out both sides. It’s inexpensive insurance.
The Fuses
Go ahead and open the fuse box; check under the dash and possibly the one under the hood. Also check the manual or fuse diagram for the brake light fuse. Pull it out to see if the metal strip inside is burned. If it is blown, replace it with the same amp rating. Still blowing fuses? That is a problem. This means that there is a short somewhere. But let’s not focus on that for now.
Advanced Troubleshooting

Still Dead? Time to Go Deeper
Brake Light Switch — The Sneaky Culprit
If you notice your brake lights not working while driving check the lever touch collab with the brake switch. To confirm this is the issue use a flashlight and check the area beneath the dashboard. If you observe that the brake light switch which is located at the top your brake light looks unresponsive then that is the defect also could be the spring attached might ruin it so handle with care. If you find yourself wanting to test the light switch ensure that your connections are working properly. The first course of action is pushing down lightly to see if it moves as well as checking with a multimeter.
Wiring — Mini’s Hidden Maze
Take a visit down south to assist to the hidden lap of your mini hoover and check out the cables wired to each constituent part. If your brake light switch isn’t the issue surely a hidden or exposed area might cause loose cables or torn wires connecting to the brake light. Worst case now you have multiple exposed wires underneath your floor mats which is a likely scenario when it comes to broken cables connecting to items frequently used in mini coopers the exposed wires could cause short circuiting within the body of the mini cooper.
Keep inspecting less likely areas under the mats and check underneath the spare tire well for exposed wires along the region of the spare tire cover up to the mats which could cause wear and leak too as well as redundant wires and poorly done connections that allows the sensitive brake light switch to function and indirectly ruining.
Don't overlook this: vibrations might have rattled something loose if you installed aftermarket lights, a trailer harness, or altered your wheels, impacting the feel of your ride.
Deeper Dive — Only If Nothing Else Works
The ABS Actuator Plug
This one’s a little out there, but stick with me. Some Mini owners have something peculiar going on. Their brake lights function normally until they meddle with the ABS module connector. The connector is located underneath the hood to the right and behind the battery. Very likely, you will have to remove the battery for a clear shot. To go about this, pull the plug and inspect for bent pins or corrosion. Afterwards, spritz some contact cleaner before plugging it back in. If it does work, congratulations, you just found the Mini’s gremlin.
Body Control Module (BCM) — The Brain That Runs It All
This is like your mission boss. The body control module, which is also referred to as the BCM, is a mini computer that controls a mini’s functions concerning system voltage - windows, lights, and even doors. That said, if all options are checked and everything seems set, the problem could be the BCM. A scan tool like Foxwell NT510 or the Carly app would suffice to verify that, if you scan, it will show Mini-specific codes, so it is worth a try.
If the scan indicates the BCM is misbehaving, you might have to reset, reprogram, or even replace it as a last resort. Whoa, whoa, whoa – don’t go spending money just yet. Sometimes, a battery reset (taking the battery off for 10 minutes) can bring it back to normal. Try that before spending tons of cash.
Bonus Tips While You’re At It
Use the Right Bulbs
Sounds ridiculous but trust me on this. Minis are picky. If the wrong wattage or resistance is applied, your car thinks the light’s out – even if it works. If switching to LEDs, make sure CANbus-compatible is mentioned or else your car’s dash might resemble a Christmas tree.
Replace the Whole Taillight? Sometimes, Yeah
Swap the whole thing if your taillight is filled with water, cracked, or the socket is loose and melted. Sweet aftermarket assemblies are available too, meaning you could fix the problem while upgrading the look.
Final Word from the Pit
Brake lights may not look as an important issue, but in reality they are. These lights serve as your first line of defense to prevent you from getting rear-ended. Most of the time, these problems are easily fixable such as a bulb, switch or even a loose connection.
If you follow the checklist,” take your time and have it fixed in no time before your next coffee break. In the case that you cannot fix it yourself, smart buds, and diagnostic scanners can save the day too. You can also take it to an auto-repair shop after doing your own preliminary assessment.
With all that being said, be cautious out there, repair what needs to be, and drive safely. Next time we can address the rattling noise in the exhaust which I am pretty sure we've all noticed!